1
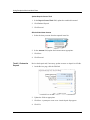
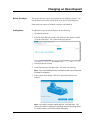
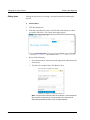
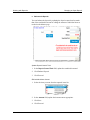
Using Sendpoint Merchant Web Client Task Summary Following is a summary of the tasks involved in creating a new deposit. Detailed instructions follow the summary. Task 1: Complete Deposit Information Task 2: Capture Items Task 3: Correct Items Select a valid deposit account. Calculate the deposit total. Load items into the scanner. Scan the items. Correct any exception items and accept or remove the item. Note: If there are no exception items, this task is skipped. If there are no exception items and the calculated total matches the deposit total, a virtual deposit ticket is created. Task 4: Balance the Deposit Task 5: Review the Deposit Task 6: Finish the Deposit Balance the deposit. Review the deposit. If necessary, edit the deposit account and/or deposit-level fields and save any changes. Submit the deposit for approval (if applicable). Finish the deposit. Deposit Approval Process The process to finish the deposit (Task 6) is affected by whether your organization uses the Deposit Approval feature. Finish Deposit without Deposit Approval Feature If your organization does not use the Deposit Approval feature, you can finish the deposit and send it to the financial organization. Finish Deposit with Deposit Approval Feature If your organization uses the Deposit Approval feature, you must submit the deposit for approval. The deposit then appears in the My Open Deposits section of the Deposits page with a status of pending until an approver approves or rejects the deposit. Pending deposits cannot be edited. Note: If you have the operator and depositor user roles, the deposit does not need approval, and you can finish the deposit. If the approver rejects the deposit, the deposit remains in My Open Deposits with a rejected status. You then must open the deposit, read the approver’s comments, and make the necessary corrections by repeating tasks 2 through 6 SendPoint Merchant Web Client User Manual 5/10 3-3