1
4. Function Guide
5-1 Installation
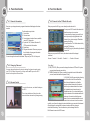
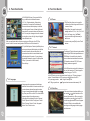
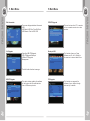
Press Scan button on RCU, and you will be able
to fine the channel very easily.
After selecting the satellite, if you start the Scan,
the channel of the relevant satellite will be found.
4-10 Quick Edit Channel
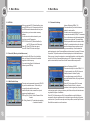
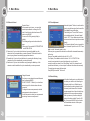
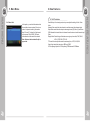
5-1-1 Installation (Antenna & Transponder Configuration)
This mode will display the LNB Frequency,
DiSEqC and transponder list of current satellite
and can adjust displayed information
for each selected satellite. When you want to
change the satellite, press OK on the Satellite
item cursor and then will display satellite list.
By selecting color Keys you can change to
Satellite Setting (RED), Antenna Positioning
(Green) and Multi Satellite Setup(Yellow) menu.
If you want to start scanning all of transponder
list for selected satellite, press BLUE key
(Search All).
MAIN MENU
FUNCTION GUIDE
4-9 Quick Scan
5. Main Menu
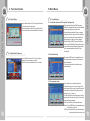
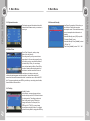
5-1-2 Satellite Setting
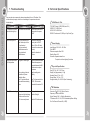
By pressing RED key in the Installation menu
will display and can adjust all of the items for
selected satellite.
If you want to go back to installation menu,
press Back key.
Press Edit Ch button on RCU, and you will be
able to edit the channel very easily.
Edit Ch button is workable event In Live mode.
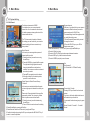
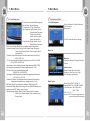
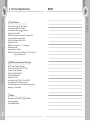
5-1-3 Transponder Setup
14
In this mode you can modify and adjust
Transponder values. If you want to go to this
mode, press OK by moving cursor to bottom of
the screen and search for frequency wish to
change by up (+) / down (-).
You can modify the current frequency value by
pressing OK and use left () right () to find value
item needs to be changed.
Add: Press RED key to add new frequency.
Delete: Press GREEN key to deleted frequency
which have cursor line.
TP Search: Press BLUE key to start searching
of frequency which have cursor line.
15