1
SecoGear 24kV-27kV Air Insulation Switchgear
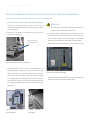
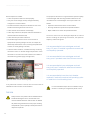
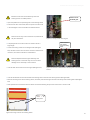
Both the screws can be accessed only when the
Fixed screw of
the bevel gear
earthing switch is in OPEN position
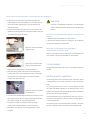
• Open the padlock on the operating hole of the earthing switch
• Draw out the drive rod forward, then the parts of the drive rod
in the switchgear can be removed from backwards now.
Attention: Don't fully remove the drive rod, otherwise all
the parts will fall out.
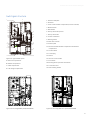
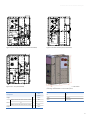
Figure 6/7: Fixing screw of bevel gear
• Completely draw out the drive rod from another side at a
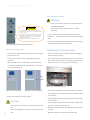
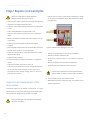
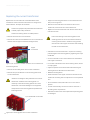
Flexible connection
of the earthing
switch and earthing
busbar
slight angle.
• Loosen the 4 fixing screws on the fixing bracket (see figure
6/6), and then remove drive rod of the rear door interlock from
rear door, then draw out the drive rod backward.
Attention: Replace the bevel gear assembly and
earthing switch in the same way. Use care to avoid
damage as the main body is much heavier.
• Unscrew both of the bolts on the bevel gear (See figure 6/7).
Figure 6/8: Flexible cable between earthing Switch and earthing
busbar
• Unscrew the flexible connections between the earthing switch and common earthing busbar (see figure 6/8)
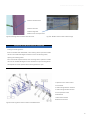
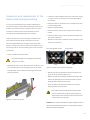
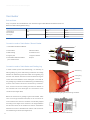
• Remove the fixing screw of the earthing switch, and then push the bevel gear and the main body of the earthing switch (See figure
6/9)
• Now replacement can be done with the above instructions following the previous instructions in reverse order.
Remove
screws o
6
fixing
f
the
earthing switch
Figure 6/9: Fixing screw of the earthing switch
28