1
Using NetBeansTM 5.5 IDE
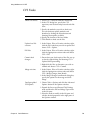
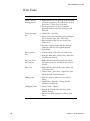
Build Tasks
90
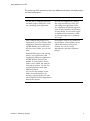
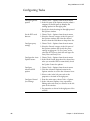
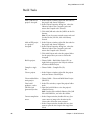
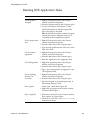
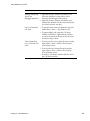
To perform this task
Follow these steps
Add a JAR file to a
project's classpath.
1. In the Projects window, right-click the node for
the project and choose Properties.
2. In the Project Properties dialog box, select the
Libraries node in the Categories pane and
ensure the Compile tab is selected.
3. Click Add JAR and select the JAR file in the file
chooser.
Note: If you also want to attach source code and
Javadoc for the JAR file, click Add Library
instead.
Add an IDE project
to a project's
classpath.
1. In the Projects window, right-click the node for
the project and choose Properties.
2. In the Project Properties dialog box, select the
Libraries node in the Categories pane and
ensure the Compile tab is selected.
3. Click Add Project and select the project folder
for the project that you want to add to the
classpath.
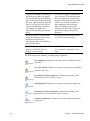
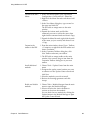
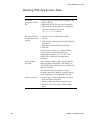
Build a project.
• Choose Build > Build Main Project (F11) or
right-click any project in the Projects window
and choose Build Project.
Compile a single
file.
• Choose Build > Compile File (F9).
Clean a project.
• In the Projects window, right-click the project
node and choose Clean Project.
Clean and build the
main project.
• Choose Build > Clean and Build Main Project
(Shift-F11).
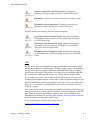
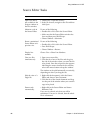
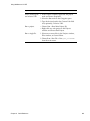
View build
products, such as
JAR files and
generated Javadoc.
1. In the Files window, expand the project folder
node.
2. Open the build folder to view the project's
compiled classes.
Note: Javadoc files and built libraries, like JAR
files and WAR files, are in the dist folder.
Correct compilation
errors.
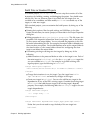
• In the Output window, double-click any Java
syntax error to jump to the location in the
source code where the error occurred.
• In the Output window, double-click any Ant
error to open the Ant script in the target that
failed.
Chapter 8
Quick Reference