1
Working with Scanner Rules
141
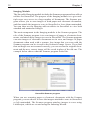
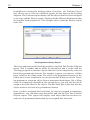
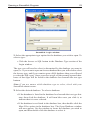
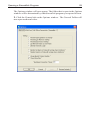
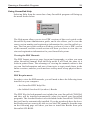
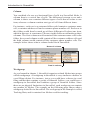
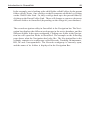
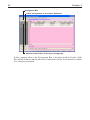
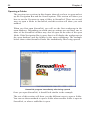
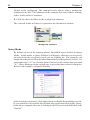
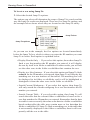
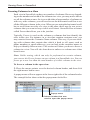
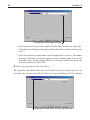
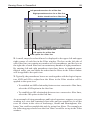
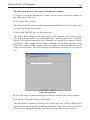
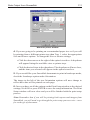
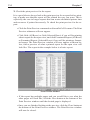
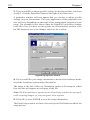
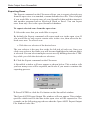
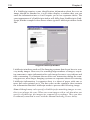
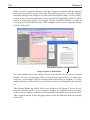
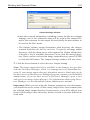
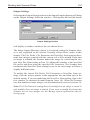
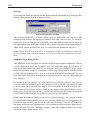
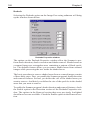
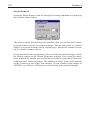
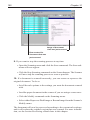
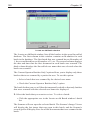
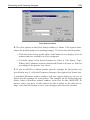
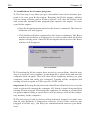
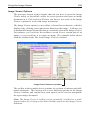
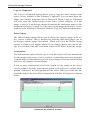
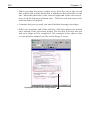
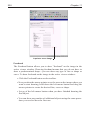
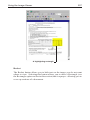
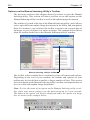
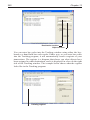
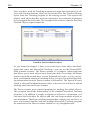
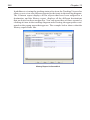
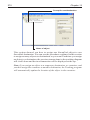
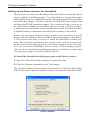
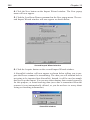
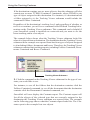
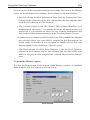
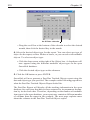
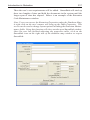
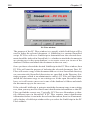
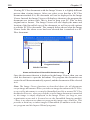
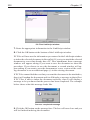
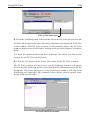
Output Settings window
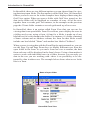
• Enter the required information, including a name for this new Output
Settings, one or two characters that will be used as the output file's
prefix, the extension for the output file and finally the next number to
be used in the file's name.
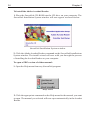
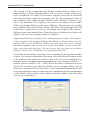
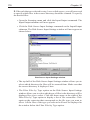
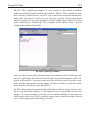
• The Output Volume option determines what directory the images
scanned with this rule will be saved to. To specify an image output
directory, click the down arrow at the right of the Output Volume box
to display a list of available directories. Now click the desired directory. Once you have selected an image output directory, press ENTER
or click the OK button. The Output Settings window will now close.
7. Click the Select button to select the new Output Setting.
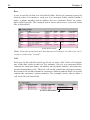
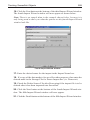
Note: The image output directories available in the Scanner are specified
with the Directory Manager, which is a managerial-level Smeadlink program. If your image output directory dropdown menu is blank and you do
not have access to the Directory Manager program, contact your Smeadlink
administrator. If you do have access to Directory Manager, open it now
and specify an image output directory. For information about using Directory Manager, see the Smeadlink System Administrator manual.
Important: When you are using the Scanner program to scan documents,
you should always be aware of how many images have been scanned into
the selected image output directory. In most cases, you will be able to scan
about 10,000 images into a directory before it starts to become difficult to
work with.