1
Network Control Software Application
Browser Control
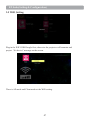
Auto IP address setting (while DHCP setting is "ON"):
(1) Enable DHCP from the projector on-screen-display menu, under "SECURITY \ LAN SETTING".
(2) Please wait for the PC server to release IP address to the projector.
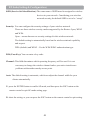
(3) Enter "Given IP address (For example http://192.168.1.176/)" into the address bar of the web browser and
press “Enter” key or click “Go” button.
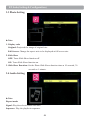
Item Setting description:
ITEM SETTING DESCRIPTION
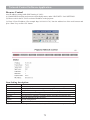
Home (Status)
Show current projector status and network configuration settings.
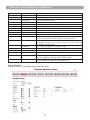
Control Panel
Select projector‟s detailed setting from this page.
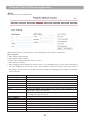
Network
Set up network configuration and password from this page.
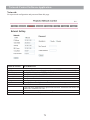
Alert Setting
Show and setup Alert configurations.
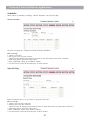
Schedule
Show and set up Schedule, including Weekly Schedule and Specific Day.
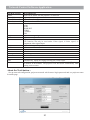
Time
Set up the date/time on the projector.
Creston
Creston configuration.
Logout
Logout information.
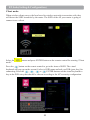
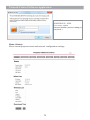
If the Administrative & User password is enabled, select your User Name and enter password to login.
75