1
User Manual
•
•
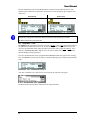
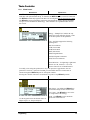
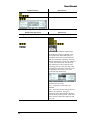
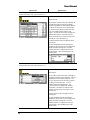
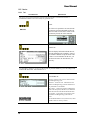
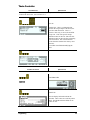
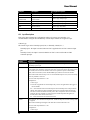
Angle Cal (calibration) factor
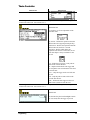
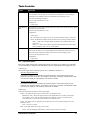
Tightening cycle counters
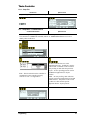
3.4.4 Tightening Cycle Counters
QPM tools have onboard counters that record the number of tightening cycles completed by the
tool.
•
Odometer Counter. Records the total number of tightening cycle completed.
•
Trip Counter. Records the number of tightening cycles completed since the last time it was
reset.
•
PM Counter. Records the number of tightening cycles completed since the last time it was
reset.
•
PM Threshold. A static value set by the end user. When the PM Counter exceeds the PM
Threshold (Limit), the controller provides a maintenance alert. The alert is an orange LED on
the front panel and the tool.
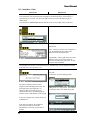
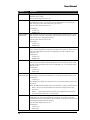
The controller reads the tightening cycle counters from the tool on each power up.
3.5 Tool Operation
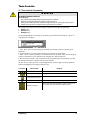
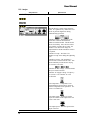
WARNING
ROTATING SPINDLE
To Avoid Injury:
•
Always wear eye and foot protection when operating and when in areas where power tools are
being used.
•
Keep all body parts and clothing away from the rotating end of the tool. Dress properly. Do not
wear loose-fitted clothing or jewelry.
TORQUE REACTION FORCE
To Avoid Injury:
•
Be alert and maintain good balance, footing, and posture at all times in anticipation of the tool’s
torque reaction. Do not over-extend or over-reach.
•
Be prepared for the change in direction and or a higher reaction force when a tool is in reverse.
•
The start lever should be positioned to avoid trapping the operator’s hand between the tool and
the work piece.
TOOL MAY NOT SHUT OFF
To Avoid Injury:
•
If the tool does not shut off at the end of the tightening cycle, contact the person responsible
for tool installation or repair. Note: When the tool does not shut off, a stall condition occurs. A
stall condition can cause a higher than expected torque reaction impulse.
•
Ensure tool is properly installed, adjusted and in good working order.
•
Do not use the power tool if the switch does not turn it on and off.
•
Apply the tool to the joint following all recommendations in this manual.
•
Check to ensure the drive socket is fully seated and locked into position before connecting
power to the tool.
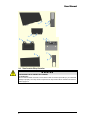
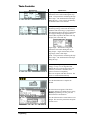
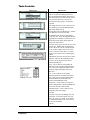
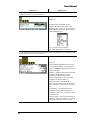
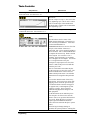
Prepare to resist the tool’s torque reaction:
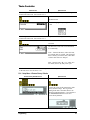
Start the tool by depressing the start lever or trigger.
Release start lever after the cycle is complete.
38