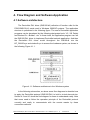
1
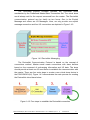
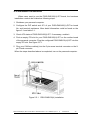
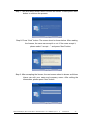
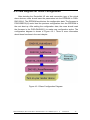
1. Add device into EEPROM
You should provide the virtual slave device’s MAC ID to add into EEPROM
by using API functions.
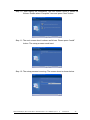
2. Add IO connection
You can choice the virtual slave device’s I/O connection type and the I/O
data length by user’s project. When adding the I/O connection, you should
provide these parameters.
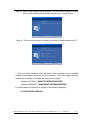
3. Reset Firmware
After adding connections or devices, users should reset the firmware by
using API function to make the new setting enable. Then the PISODNS100(U) would wait for the request command form the remote master
device.
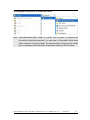
4. Access I/O data
After establishing communication with the master, you can access the I/O
data with corresponding read/write function to communicate with the remote
master.
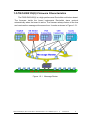
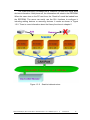
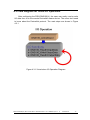
After adding the device into the EEPROM and reset the firmware, the
virtual slaves would send the “Duplicate MAC ID Check Message” immediately
to find out the duplicate MAC ID. If there is no duplicate MAC ID, the virtual
slave would wait for the request command from the master. Once I/O
connections have been created and started, I/O data would be exchanged
among master and virtual slaves in the DeviceNet network. Therefore, the
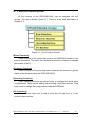
master device can access I/O data of the virtual slave devices by one of the
four I/O connection methods. The API functions are not only easy to use but
also providing a lot of the DeviceNet slave functions to retrieve and deliver the
I/O data from the master. For more information, please refer to functions
description and demo programs in chapter 5 and 6.
PISO-DNS100(U) DeviceNet Slave API functions User’s Manual (Ver: 1.1)
2010/01/07
10