1
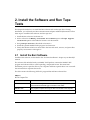
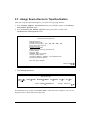
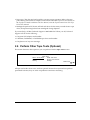
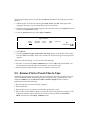
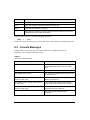
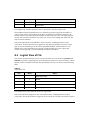
2. Install the Software and Run Tape
Tests
This chapter describes how to install the Barr software and test the tape drive. During
installation, you will need your Barr communications adapter and Barr RJE manuals. Follow
these steps to install the Barr software and run tape tests.
1. Install the Barr software. See Section 2.1.
2. Set the values for the Memory allocated for buffers option and Tape Support
Initialize options as described in Section 2.2 of this manual.
3. Set up Assign Devices as described in Section 2.3.
4. Install the optional BARR/TRAN program. See Section 2.4.
5. Verify that the Barr software is connected to the host and sends, receives, and prints files
properly. See sections 2.5 through 2.7.
2.1 Install the Barr Software
Install the Barr software as described in the “Software Installation” chapter in your Barr RJE
manual.
The software disk included with your BARR/TAPE product contains the BARR/TAPE
program and reference files in a self-expanding, compressed format. The automated
installation process copies the files to your computer and then expands them. You can install
the software files in separate directories.
The disk contains the following INSTALL program files and Barr software files.
TABLE 2-1
INSTALL Program Files
File Name
Description
READ.ME
A text file containing information about the INSTALL program. You can
view this file with the DOS type command or a file editor.
INSTALL.EXE
The program to expand and copy the files from the disk to the computer.
CONTROL.DAT
A text control file used by INSTALL.EXE.
BARR/TAPE
13