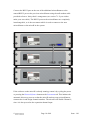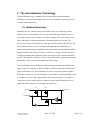
1
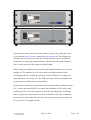
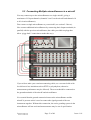
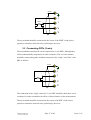
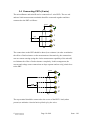
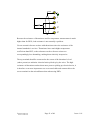
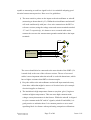
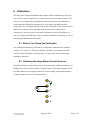
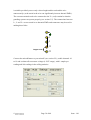
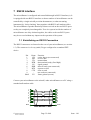
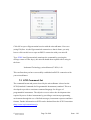
If the software on the microK is already running, restart it by cycling the power
or pressing the Restart Software button on the Instrument tab. This initiates the
automatic discovery process so that the microK can detect any microsKanners
connected to it and assign channel numbers. The microK will disable Channel 1,
since it is always used as the expansion channel input.
With a single microsKanner, the microK assigns channel numbers 10 to 19 to the
multiplexer. The numbers (0 to 9) below each set of input terminals on the
microsKanner help to identify the terminals for each Channel (for example, the
input marked as 4 is Channel 14). The LED (by the top terminal) will light when
measurements are being made on that channel.
If you want to control the measurement system (microK and microsKanner) from
a PC, connect the unused RS232 port on the microsKanner to a PC using a null
modem cable. You can still communicate with the microK Bridge even though
there is no physical connection to it as the microsKanners will relay commands
from the PC to the microK and will relay back responses from the microK to the
PC (see section 7 for further details).
©
Page 12 of 48
Issue: 1.01