1
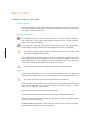
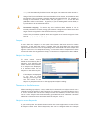
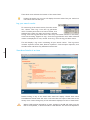
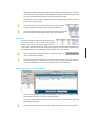
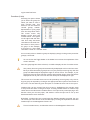
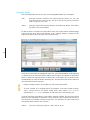
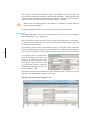
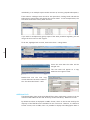
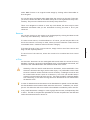
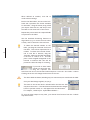
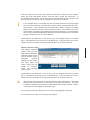
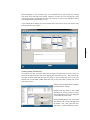
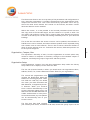
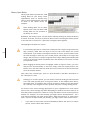
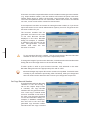
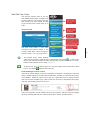
Repeat the search and selection process until you have created the full list of the
resources you want to catalogue. Once your list is complete, the remainder of the
cataloguing process is exactly the same as it would be if you were using the Rapid
Entry functionality. That is, you can click Remove selected to remove records from
the list of resources to be catalogued, you can click Configuration to set / reset the
default cataloguing configuration, and you can click Process All to proceed to the
next step of the cataloguing process.
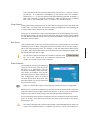
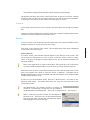
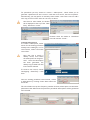
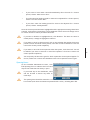
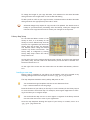
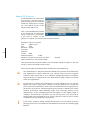
A maximum of 15 search results will be retrieved from each selected Z39.50 server.
This limit is designed to reduce web traffic. If your search doesn’t return the resource
you are looking for, you may need to refine your search criteria.
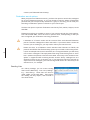
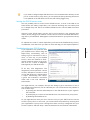
Only one resource can be selected from each batch of search results. So if you want
to catalogue multiple resources using the same search criteria (e.g. five books about
climate change or seven books by J.K. Rowling), then you will need to perform multiple searches and selections.
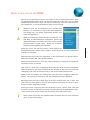
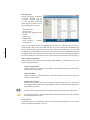
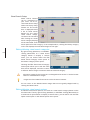
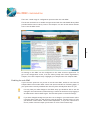
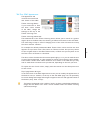
Reading Lists
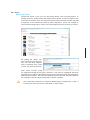
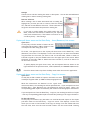
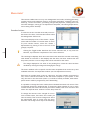
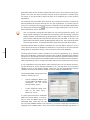
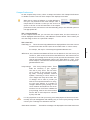
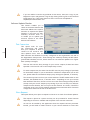
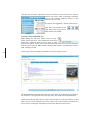
This allows you to create reading lists that can then
be visible from within the web OPAC.
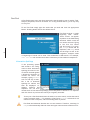
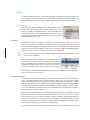
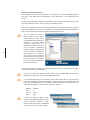
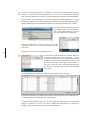
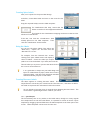
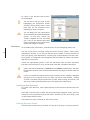
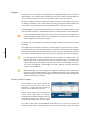
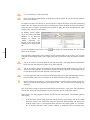
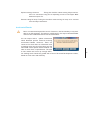
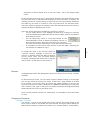
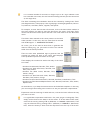
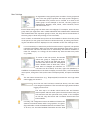
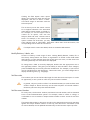
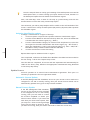
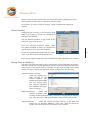
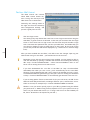
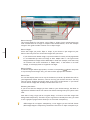
Add Selection
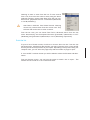
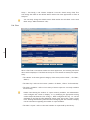
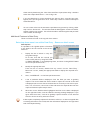
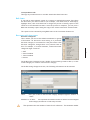
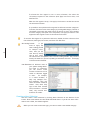
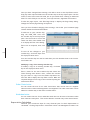
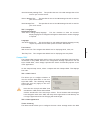
From within the Data Entry - Item (Resource) List, find
the required items (usually via a Fast Find or Advanced Search). Highlight the records
you wish to add to a reading list and choose Add Selection.
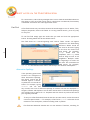
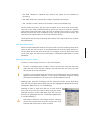
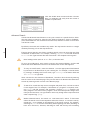
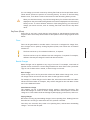
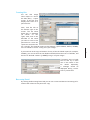
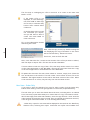
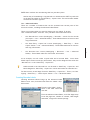
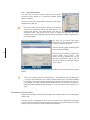
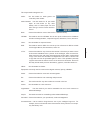
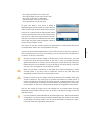
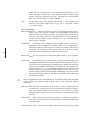
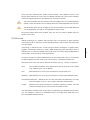
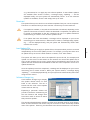
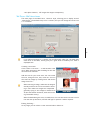
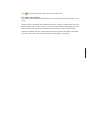
From here, you have the choice to add these items to an existing list (double-click
the preferred list), or add New to create a new reading list.
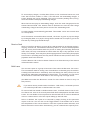
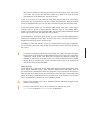
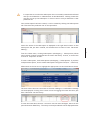
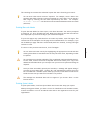
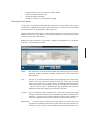
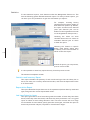
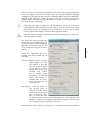
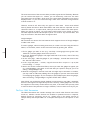
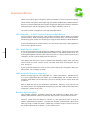
View
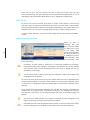
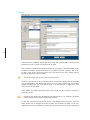
This displays any previously saved reading lists. Double-click a reading list to see the
associated records.
69