1
REC:
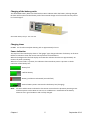
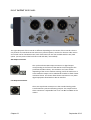
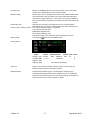
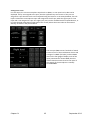
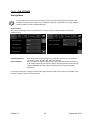
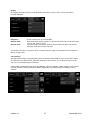
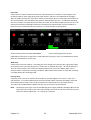
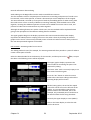
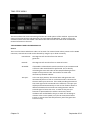
This is the standard position used for recording. When recording, the red led beside
REC position of the main function selector will be alight. Record can be selected at
any time and will take priority over any other function. Some menu settings are
prohibited in the REC position. From full power off to RECORD mode takes about 10
seconds – depending on the number of files on the media. Recording will begin
before the entire booting process is completed.
STOP:
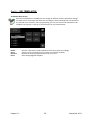
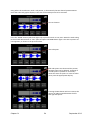
In this position the push-button transport keys are active for rewind, fast forward
and skip functions. Access to all menus and machine settings is also enabled.
In this position the time code output will be frozen at the last value read.
In this position the audio inputs are not fed to the outputs.
PLAY:
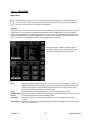
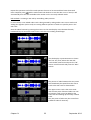
This is the principal PLAYBACK position. Playback will start either from its current
position, or from the beginning of the last recorded take if the machine had
previously been in record mode.
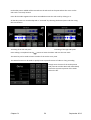
In this mode the transport icons for search (4x) and skip can be used as well as the
pause fuction.
In this position the time code from the take being played will be fed to the time code
lemo output.
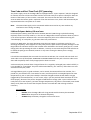
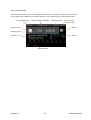
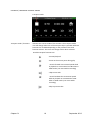
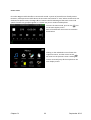
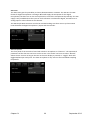
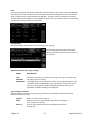
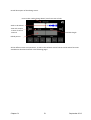
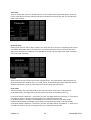
Slate Microphone
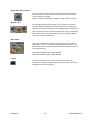
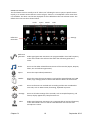
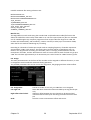
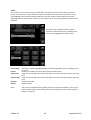
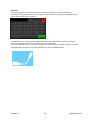
Located towards the top center of the front panel is the internal built-in
microphone, commonly called a “Slate” microphone. It is activated by pressing the
SLATE icon on the main display. It can be programmed to toggle ON and OFF on each
consecutive press or to be active only while the icon is pressed. It can be directed to
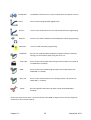
one or both audio channels in the menu mode. If the Icon is not present on the
screen then it must be added using the Icon selection menu as this is the only way to
activate the slate mic. The slate mic will only operate at 44.1 kHz and 48 kHz.
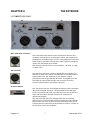
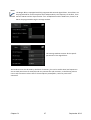
Level potentiometers
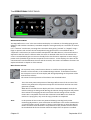
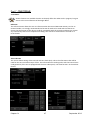
Two potentiometers located on the front panel can be used for various features
according to their programming in the pot. assign menu. Principally, they are used to
adjust the input sensitivity of the microphone inputs or the line input levels. They
can be ganged together when working in stereo or if a fixed offset between the
channels is to be maintained. Pressing a pot will activate the push-button switch and
this will instantly display the current level adjustment setting of the corresponding
channel on the main display, and will also select the corresponding channel in “Solo”
(Mono) on the headphone output. The pots programming to other functions is
covered in the pot. assign menu.
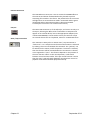
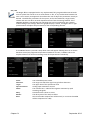
Headphone connector and level control
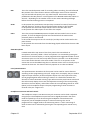
The headphone output is a 6.35mm stereo jack connector and its level is adjusted
using the pot. The headphone output level can be digitally boosted in the menu
mode if required by 6 or 12 dB. Pressing the headphone volume button will
temporarily set the headphone output to mono monitoring. This can be
programmed to a toggle mode in the monitoring menu. A “Solo” monitoring of
either channel can be achieved by pressing the corresponding level control at any
time.
Chapter III
12
September 2013