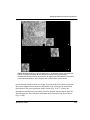
1
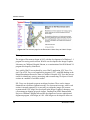
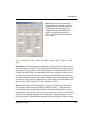
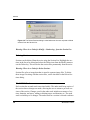
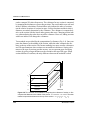
Sections
Sections do not have to be numbered sequentially. Gaps in section numbering are
generally ignored. But note that gaps may require careful interpretation for 3D
reconstructions and measurements. The position of a section in the volume is
determined by the combined section thicknesses of lower numbered sections (see
Z Distance in Chapter 9), so the section thicknesses must account for any gaps in
the series to get correct 3D distances.
Creating a Section
A new section can be created by selecting the New item from the Section menu.
Sections can also be created by importing sections, images, or lines into multiple
sections using the dialogs from the Series Import menu.
The New Section dialog asks for the number of the new section. The default value
is the section number after the current section. After a number is entered and the
OK button pressed, a section file with default attributes is created with that index.
If a section with the index already exists, no new section is created and an error
message is displayed.
After creating the new section, the main window switches display to it. Initially the
new section contains no data. A section without images or traces displays as black.
Data can be added to the section by importing domain images (Chapter 7) and by
drawing traces (Chapter 8). The new section is given the default section thickness
defined in the Series Options General tab.
Saving a Section
By default, section data is automatically saved to the section file before it is
deleted from memory. This can be changed in the General tab of the Series
Options. When sections are not automatically saved, the user will be warned
before any changes are deleted provided the “Warn before deleting unsaved sections” checkbox is set.
52
Reconstruct v1.0.6.1