1
Installing the VM-3 Video
Upgrade Package
Continued…
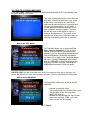
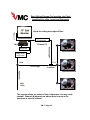
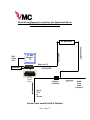
6. The last Video Out (unmarked) is for
insertion into a modulator or video display
to be seen by intended viewers. This Is
usually a custom made cable provided by
your installer.
6.
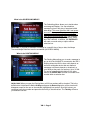
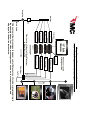
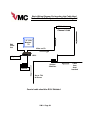
7. Connect the power cord on the DV Pro
Media Player to an electrical outlet or
recommended surge protector. Turn on the
VM-3 by connecting the power cord.
7.
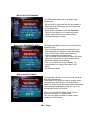
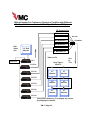
8. At this point, you can insert the Compact
Flash Card (provided) that contains your
images and video.
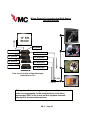
9. Turn on the DV Pro Media Player by
pressing the power switch. The player will
take about 10 seconds to boot up and will
show the first track on the play list.
8.
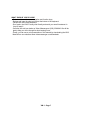
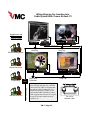
10. Now you are ready to get started. Using
the VM-3’s keyboard, go to the Page menu
and tab down to Track. With the right hand box
highlighted, you can arrow up and down
from files 1 to 99. To select an image in a
track higher than 99, use the left box to put
the first one or two digits of the track
number and the right hand box to put in the
last two digits of the track number. One
second after going to a file number, the
Player will display the image or video in that
track
9.
Call (203) 358-8842 if you are having a
problem completing these steps.
VM-3 • Page 17