1
User Manual
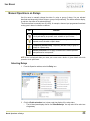
Defining In/Out Reports
1
2
3
4
5
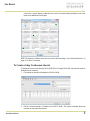
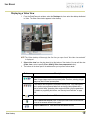
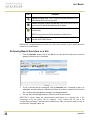
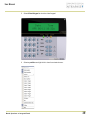
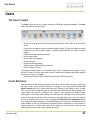
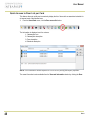
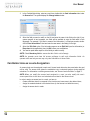
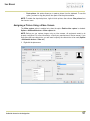
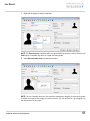
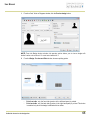
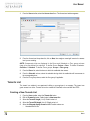
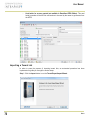
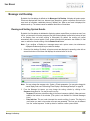
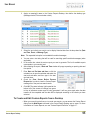
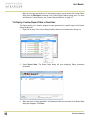
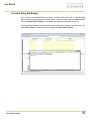
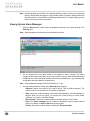
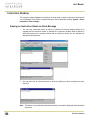
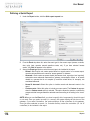
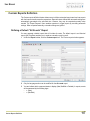
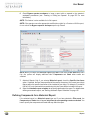
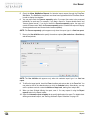
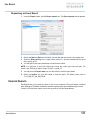
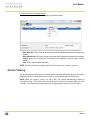
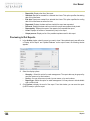
Under the Report toolbar, click the In/Out Report icon.
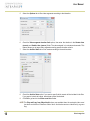
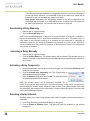
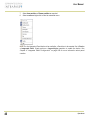
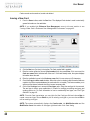
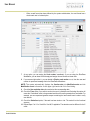
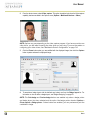
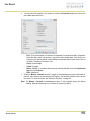
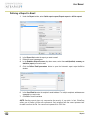
If you select the Doors option, only the doors defined as “In/Out” doors (in the Door definition
menu) are displayed. Check the View deleted doors to add deleted doors to the list. When you
select the Door group option, the View deleted doors option is disabled. The system displays
the door groups of your system; then you may select one.
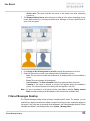
Check the Overwrite existing output file option if you want the system to replace the existing
file. If you leave this option unchecked, the system will create another output file.
Select Display Hours and Minutes to add them to the report.
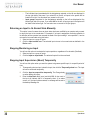
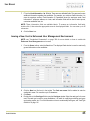
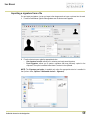
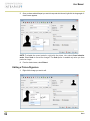
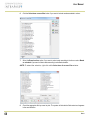
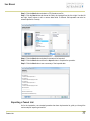
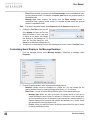
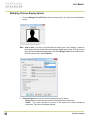
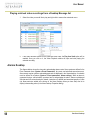
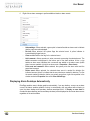
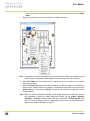
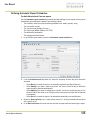
Select the Card tab to add other filters for the report.
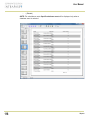
NOTE: The Card type tab appears when the Use card type as filter box is checked.
6
7
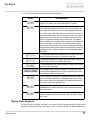
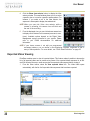
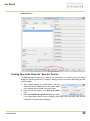
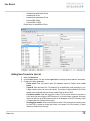
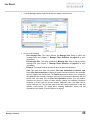
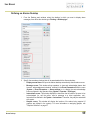
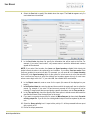
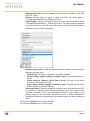
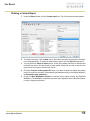
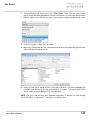
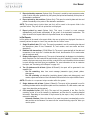
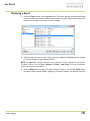
Select a filter index, then select a filter mode (None, Include, Exclude). If you have selected a
filter index, select the filter mode and enter the value range in the Upper/Lower boundary
fields. To include all the fields, leave the filter mode to None. For example, if you select Card
number as the Filter index, leave the filter mode to None so that all events triggered by cards
will appear in the report.
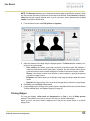
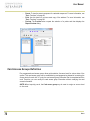
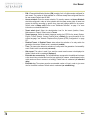
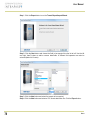
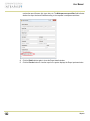
To add information in the sort criteria, select an item from the Additional information dropdown list.
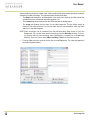
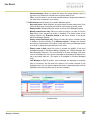
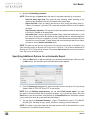
NOTE: Repeat these steps for all the card information fields that are listed in the filter index
field. You could use the card user name and specify A to F in the Upper/Lower boundary
fields for the system to include events in which the defined card numbers appear but only for
card users whose names begin with A to F (G and up will not be included even if the card
number is included in the range).
8
134
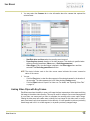
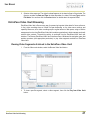
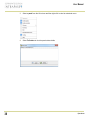
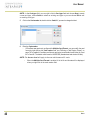
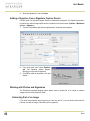
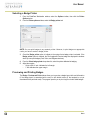
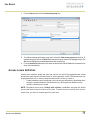
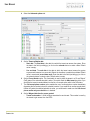
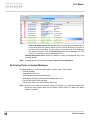
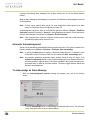
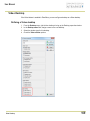
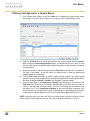
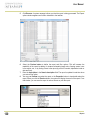
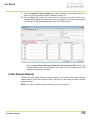
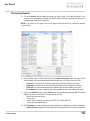
Select the Card type tab if it is displayed, then specify the Card types that will be included in
the report. This tab appears if you have checked the Use card type filter option.
Reports