1
Installation and Operation Manual
IMS2
6
TD 92586GB
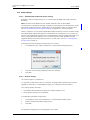
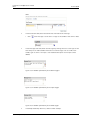
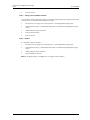
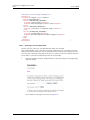
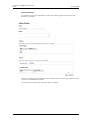
Enter the new Call ID for the phonebook,that is, the Call ID the handsets are using to
access the Central phonebook. Check that the Call ID does not conflict with any of the
handsets in the system.
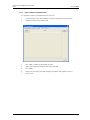
13.1.3 Search result texts
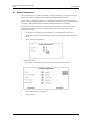
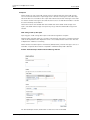
When a request is sent to the Central phonebook, a text is included in the response that is
sent to the handset. These texts can be customized, for example translated.
1
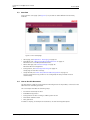
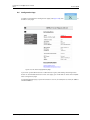
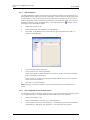
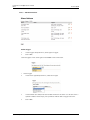
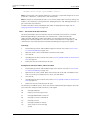
On the IMS2 start page, click "Configuration". The IMS2 Configuration page opens.
2
Select Other settings > Advanced Configuration. The IMS2 Advanced Configuration
page opens.
3
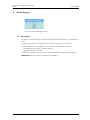
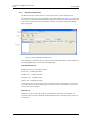
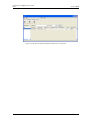
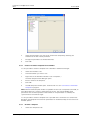
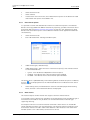
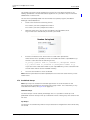
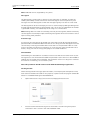
Select “Phonebook”. The Phonebook page appears.
4
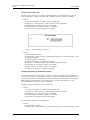
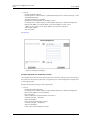
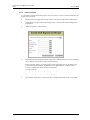
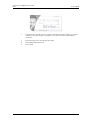
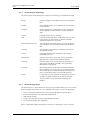
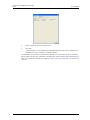
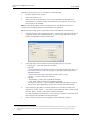
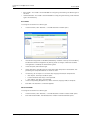
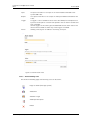
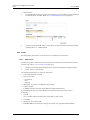
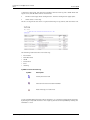
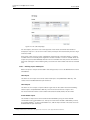
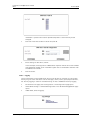
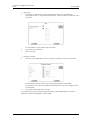
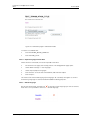
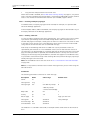
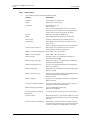
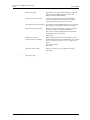
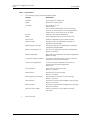
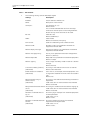
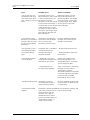
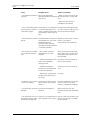
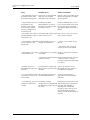
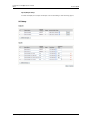
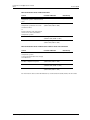
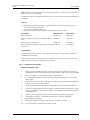
Enter the texts that should be included in the search result, see table below for more
information about the different texts and when they are used.
Note: This setting does not affect all handset types.
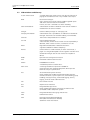
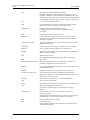
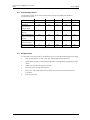
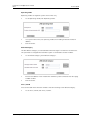
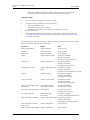
Default text
Description
Search result
Included in a successful request before the entries that
matched the request
Sorry, no match
Sent when there were no match for the sent request.
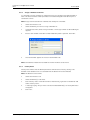
13.1.4 Select Central Phonebook Database
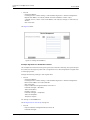
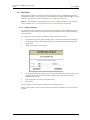
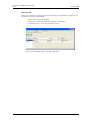
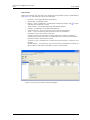
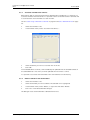
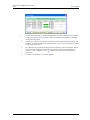
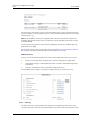
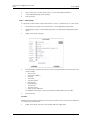
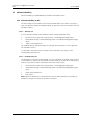
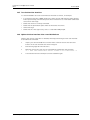
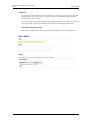
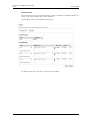
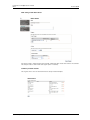
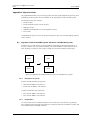
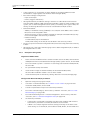
Select which database to use for telephone numbers; “Local - 500 Editable”, "Local - 2000
View only", or “LDAP”.
•
•
If the default local database is selected, continue in chapter 7.2.1 Import Entries to the
Central Phonebook from a CSV File on page 34, 7.2.2 Export the Central Phonebook to a
CSV File and 7.1.1 Add Entries to the Central Phonebook.
If LDAP server is selected, continue in chapter 13.1.5 LDAP Parameter Setup on page 99.
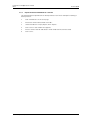
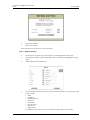
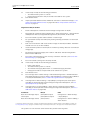
To set database to use for the Central phonebook, do as follows:
1
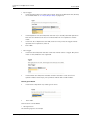
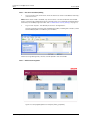
On the IMS2 start page, click "Configuration". The IMS2 Configuration page opens.
2
Select Other settings > Advanced Configuration. The IMS2 Advanced Configuration
page opens.
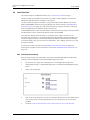
3
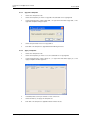
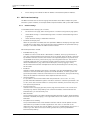
Select "Phonebook".
10 January 2011 / Ver. E
98