1
84
5.5.1
Newton v3.0
General Usage
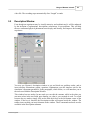
The description window can have more than one page. This facilitates longer, structured
explanations for the experiment. On the first page, for example, you could place diagrams,
and on the second page you could explain the theoretical calculation of the motion.
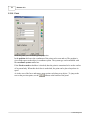
At the bottom of the window beside the check box you will see two other icons; these are to
manage the window page. The left icon
creates a new page, and the right icon
deletes
the currently selected page. Right beside the right icon a caption displays the currently
selected page number and the total number of pages. The third part of the caption says what
type page is currently selected and is only of interest when you edit the description window of
a problem file. In this example, you may need to change the page type from normal to hint or
solution depending upon the contents of the page. We will present the page type in more
detail later on. You can use the type-switching command (which can be found in the context
menu of the window) to set the type of the current page.
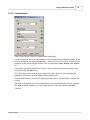
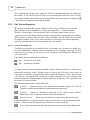
In the right side of the status bar, there are two arrow buttons
that you can cycle through
the pages. The PageUp/PageDown keys of the keyboard do the same thing.
If you have placed elements in the description window that extend beyond the window,
Newton enables the vertical and horizontal scroll bars. The horizontal scroll bar appears on
the right side of the status bar and shares with it the available space. Between the status bar
and the horizontal scroll bar you can find a so-called splitter. Move the mouse over the splitter
and its shape changes to . Now you can drag the splitter to reallocate the space shared
between the scroll bar and the status bar.
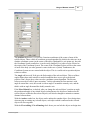
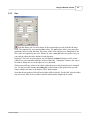
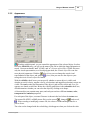
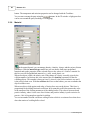
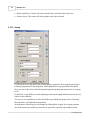
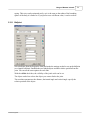
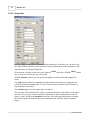
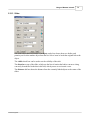
Each element inserted in the description window has its own properties window from which
you can change the element’s position and size numerically. The appropriate dialog will
appear if you click twice on an element. We will present the details of these dialogs later
when we present the corresponding element.
To replace or resize the element, do the following. Place the cursor over the item (the cursor
shape will change to
), press and hold down the left mouse button, and drag the element
into a new position. When an element is selected, you will see small boxes in the corners of
its drawing area. These boxes are for resizing elements, but only when doing so makes sense;
for example, pictures or diagrams. If you try dragging a line’s selection rectangles, you can
move the end point of the line.
You can select and move several elements at once. Click near one of the elements, hold down
the mouse button, and extend the selection rectangle until it encloses the elements you wish to
move. When you release the button, the items within this rectangle will be selected. Now
click on one of the selected elements, hold down the mouse button, drag the elements to their
new location, and release the mouse button. Another way to move a group of elements is to
select them one by one. Hold down the Crtl key and click on the elements one at a time. When
the selections have all been made, move them as explained above.
© 2007 DesignSoft