1
Chapter 2: Creating a Panorama
2.1 Step 1 - Browsing and Selecting
Step 1 explains how to preview and select media files for
stitching. The Folders view, located in the Left Pane, displays
your files based on their location on your hard drive.
Instructions on opening an existing panorama are also included,
along with an explanation on the tools located in the Preview
Area.
To browse and select:
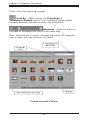
1. From the Folders Menu, browse to the desired folder and
select the photos and video files you want to make into a
panorama. The media files display in the Preview Area.
2. From the Preview Area, select the photos or video file
to stitch. The selected media files display with a white
frame.
There are several ways to select media files:
• Hold down the Ctrl key and click the photos or video
file.
• Press the mouse key and drag the mouse over the
desired media files.
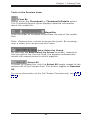
• To select all media files, click the Select All toggle
located at the bottom left of the Preview Area.
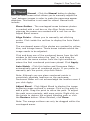
• Check the Auto-Select by Group checkbox, located
at the top right of the Preview Area. By checking this
box, the program automatically selects the related
photos to stitch together.
To open an existing panorama:
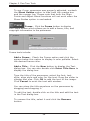
1. From the Files Menu, select Open Panorama. The Open
Panorama dialog box displays.
2. Browse to the desired folder and select the photos and
video files you want to make into a panorama. The
media files display in the Preview Area.
3. From the Preview Area, select the photos or video file
to stitch. The selected media files display with a white
frame.
11