1
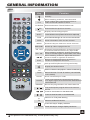
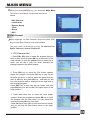
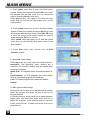
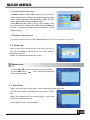
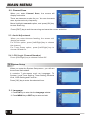
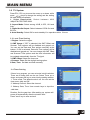
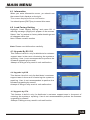
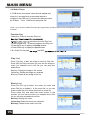
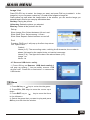
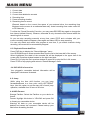
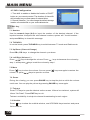
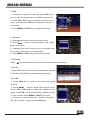
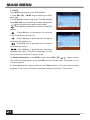
MAIN MENU
MENU
MAIN
1.
2.
3.
4.
5.
6.
Current date
Current time
Current time detailed to seconds
Recording time
Preset recording duration
Remaining time to record
(Remark: based on the current free space of your external drive, the remaining time
displayed on the screen is an estimated data only. Actual recording time varies under HD
or SD channels. )
To utilise the “Preset Recording” function, you may press RECORD key again to change the
time interval (default 2hours). However, remember to only choose the time interval within the
remaining time to record.
Or you can stop recording manually at any time, press STOP and a window with your
current recording detail will appear, press again and select YES to stop recording.
You can only watch and record one program at one time, if you switch channels during
recording, the record will be automatically stopped.
6.3 Playback Recorded Files
Press FIND key to display the “Record Manager” menu.
Use UP/DOWN keys to select recorded files from the list in the lower half of the screen.
When highlighted, the detail of the recorded file will be displayed in the upper half of the
screen with a preview window located on the right hand side.
Press PLAY to play the file in preview window or press OK to play the file in full screen.
Press STOP to stop playing and return to “Record Manager” menu.
6.4 DVR HDD Information
Your plugged-in removable device's information will be
displayed in window as illustrated.
6.5 Jump
While using the time shift function, you can jump
forward/backward to a time point using LEFT/RIGHT
keys. Use this option to set the step size of each jump
operation, available from 30 secs to 30 mins.
6.6 HDD Format
Storage Partition: Select the Partition on your device to
format.
Format: Highlight this button in YELLOW and press OK
to format your removable device.
Warning! All data on your removable device will be
deleted and cannot be recovered. Please backup your
files before formatting the disk.
18