1
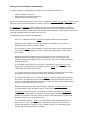
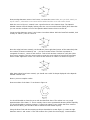
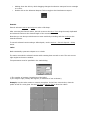
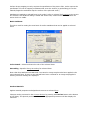
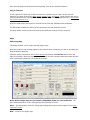
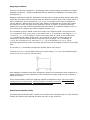
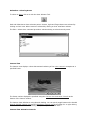
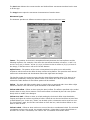
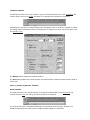
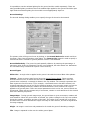
Tiling type - you can choose to repaat the tiling in regular repeats or in a mosaic fashion so that
no seams in the image map are aparent.
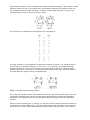
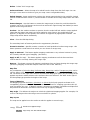
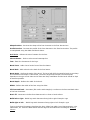
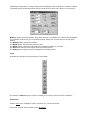
Renders the image map with the effects of the lighting conditions on the
mapped surface.
Shading
Renders the image map while ignoring the lighting conditions on the mapped
surface. An unshaded map can be used to represent a TV screen.
Renders image maps normally. The background color will be rendered onto the
selected faces.
Decal
Enables insignia and decals to be painted onto an object. Faces that would be
painted in the map's background color are rendered as if no map had been
applied to them.
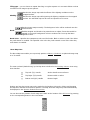
Decal Color - Specifies the transparent color used for Decals. Black or white is used if the Index
Key radio button is enabled. The specified color in the Key Color swatch is used if the Color Key
radio button is enabled.
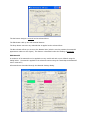
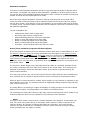
Move Map Axes
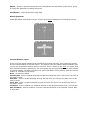
The Move Map Axes enable you to precisely position a Planar, Cylindrical, or Spherical image map
on a 3D model.
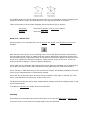
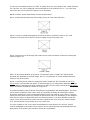
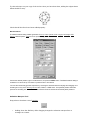
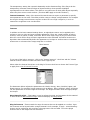
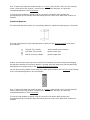
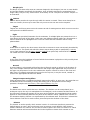
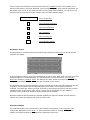
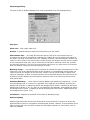
The area enclosed (shaded Gray) by the Map Axes is defined in the Working-Volume views using
three handles.
Top Left (T/L) Handle
Anchor handle moves all axes
Top Right (T/R) Handle
Resizes width or radius
Bottom Left (B/L) Handle
Resizes length
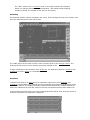
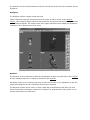
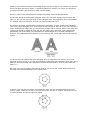
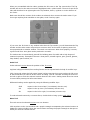
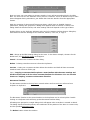
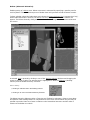
Position and size the image map on the model in the Working-Volume by clicking and dragging
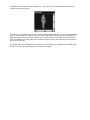
the Map Axes handles to the desired position. The Map Axes and image map will simultaneously
be displayed in the OpenGL Shaded Camera View.
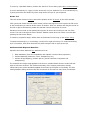
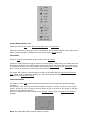
You can also set the position of each map axis handle at the location of the 3D Cursor by pressing
on the corresponding button in the Lock Palette.