1
Initial Setup
Settings - Language, Date & Time
Calibration
Fig. 1
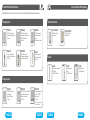
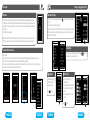
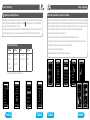
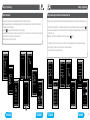
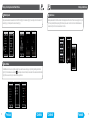
The 'Settings' menu can be accessed by pressing
in the top right corner of the screen
(Fig. 7).
The password screen (Fig. 8) then appears.
Enter the default password '1111' and press 'OK' to fully access the 'Settings' menu (Fig. 9).
Note: The password can be changed to help prevent access to the settings menu, see
page 25 for more information.
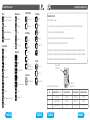
When the RF Touch is switched on for the first time the 'display calibration' screen will appear automatically.
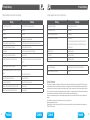
The touch screen is controlled by lightly touching the desired location. On the screen (Fig. 1) appears a cross
starting in the top left corner, cleanly press on the cross twice, repeat for the remaining three corners when the
cross is shown.
The RF Touch is now calibrated.
Note: In the event the screen does not calibrate correctly, turn off the power and then back on. When the 'RF
TOUCH' logo appears, press and hold the screen until the calibration screen appears. Calibrate as above.
Fig. 10
Fig. 9
Setting Menu
Content Of The Home Screen
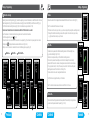
The 'Settings' menu contains two screens. Press the
move between the screens (Fig. 9 & 10).
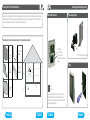
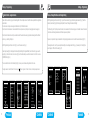
• Date and day
• Time (touching on the time in the top right corner of the display will switch between analogue and digital clocks (Fig. 2 & 3)
• Either the 7 day icon or holiday mode icon may be displayed if preferred. See page 24
• The three boxes along the bottom can be customised to show favourite functions, e.g.: lighting, scene etc. (Fig. 4). See page 27
• Touch the main clock area to enter the Main menu (Fig. 5 & 6)
Fig. 2
Fig. 3
Fig. 4
Language
Fig. 5
Fig. 6
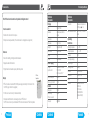
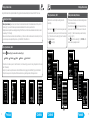
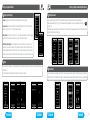
Select language (Fig. 9)
Select the preferred
language - (Fig. 11)
.
Press OK to save.
Fig. 11
Date & Time
Previous
Contents
Contents
Fig. 12
buttons to
Fig. 13
Select Date and time (Fig. 9)
• Date and Time
• Automatic transition between winter & summer time (Time Zone GTM
+01:00)
• Format settings hours (12h / 24h
mode)
Press
12
Fig. 8
Fig. 7
Main Menu / Settings
OK
to save.
Forward
13