1
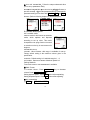
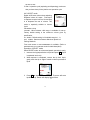
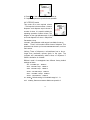
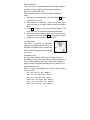
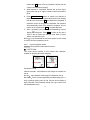
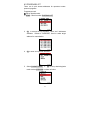
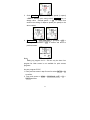
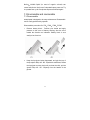
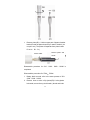
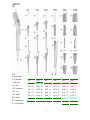
4. Restore lower section of tip ejector (there are 2 fitting
notches on both E6(or F6)and E5(or F5); match the
notches in position and pop one side in first, and the other
side later.
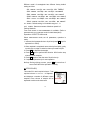
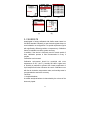
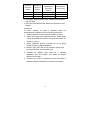
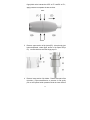
5. Restore battery block into battery housing; restore housing
cover. Reassembly of the pipette is complete.
8. Maintenances
8.1 Cleaning and decontamination
Smartpipette is designed for easy maintenance as regular
maintenance will ensure the accuracy and precision in your daily
operation. It is especially important if the liquid you are working
with is erosive solvent.
Notice:It is important to remove battery before you proceed
with cleaning and decontamination.
① Exterior
Methods:Wipe the exterior with soft-cloth or lint-free tissue
impregnated with 60% of IPA water. Then wipe the entire pipette
again with stiller water.
Check if the exterior of pipette is clean and free of dust,
especially tip holder before every operation. Leave the parts to
dry by evaporation or wipe them within a clean soft-cloth.
② Interior
Procedures
1. Disassemble all part s for cleaning according proper
procedure.
2. Wipe the exterior with soft-cloth or lint-free tissue impregnated
with 60% of IPA water. Then wipe the entire pipette again with
stiller water.
3. Generally, o-ring, piton doesn’t require special cleaning. If
dust or any particle is detected, wipe out with clean soft-cloth.
4. Refresh a thin layer of lubricate on o-ring and piston.
5. Reassemble according the proper procedures.
③ Decontamination
The handle is not autoclavable. Only the bottom sections
including tip-ejector, tip-holder, o-ring, connecting nut, can be
41