1
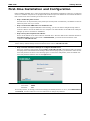
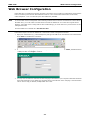
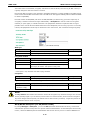
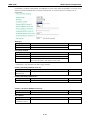
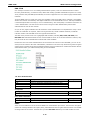
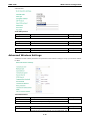
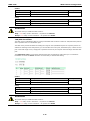
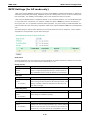
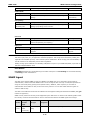
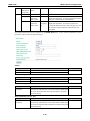
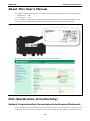
AWK-4131 Getting Started First-time Installation and Configuration Before installing the AWK-4131, make sure that all items in the Package Checklist are in the box. You will need access to a notebook computer or PC equipped with an Ethernet port. The AWK-4131 has a default IP address that must be used when connecting to the device for the first time. • Step 1: Select the power source. The AWK-4131 can be powered by a DC power input or PoE (Power over Ethernet). The AWK-4131 will use whichever power source you choose. • Step 2: Connect the AWK-4131 to a notebook or PC. Since the AWK-4131 supports MDI/MDI-X auto-sensing, you can use either a straight-through cable or crossover cable to connect the AWK-4131 to a computer. The LED indicator on the AWK-4131’s LAN port will light up when a connection is established. • Step 3: Set up the computer’s IP address. Choose an IP address on the same subnet as the AWK-4131. Since the AWK-4131’s default IP address is 192.168.127.253, and the subnet mask is 255.255.255.0, you should set the IP address of the computer to 192.168.127.xxx. NOTE After you select Maintenance Load Factory Default and click the Submit button, the AWK-4131 will be reset to factory default settings and the IP address will be reset to 192.168.127.253. • Step 4: Use the web-based manager to configure the AWK-4131 Open your computer’s web browser and type http://192.168.127.253 in the address field to access the homepage of the web-based Network Manager. Before the homepage opens, you will need to enter the user name and password as shown in the following figure. For first-time configuration, enter the default user name and password and then click on the Login button: NOTE Default user name and password: User Name: admin Password: root For security reasons, we strongly recommend changing the default password. To do so, select Maintenance Password, and then follow the on-screen instructions to change the password. 2-2