1
Maze Creator Settings
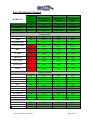
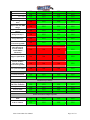
Selecting a Style/Template
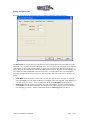
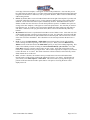
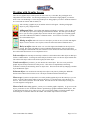
One of the first things you need to do is to select a Template for the maze you would like to create. This is
done through the Maze Options menu, and then selecting Maze Setup. The template or style is simply the
overall motif or feeling of the maze. For example, you could choose a maze with a square or circular maze
shape. Currently there are 7 styles as well as a TILER Templates to choose. To help give a “feel” of the
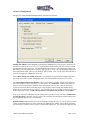
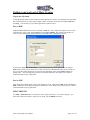
style, a sample of the Template is displayed in the Example box. You will get the following dialog box:
You can also get this dialog by clicking on the “SETUP” button on the left-hand side toolbar.
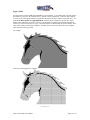
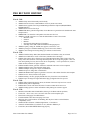
Select the Template Style with which you would like to work. As you click on the radio buttons to the left
in the Template Selection area, the Template Example on the right will update to show a sample of the
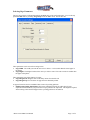
template. Once you have selected your template style, click on the Dimensions tab to select the size of the
template grid.
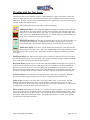
TILED: Maze Creator now supports TILERs. These are graphic images rather than simply lines used as
part of the other styles. Please note that some features will work differently or simply not supported with
this graphical tile system. For example, the show erased cells does not function with TILERs. Tilers will
offer theme based mazes with the possibility of highly rendered graphics.
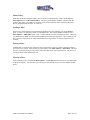
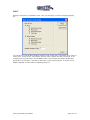
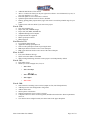
If you enable Wrap, horizontally will allow the maze to flow from the left edge of the maze to the right
edge as if these to were joined. Likewise, vertically wrapping allows the maze to flow off the top to the
bottom. Both of these can be selected at the same time.
Maze Creator PRO User Manual
Page 5 of 33