1
4.1.2 Warm-up
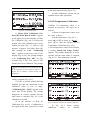
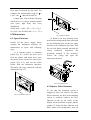
appears at the lower part of the display
(see Fig. 4-1-3). User shall operate as per
the prompts, press [K] to start leak check.
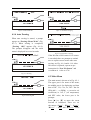
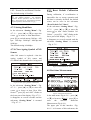
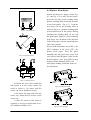
Then, “Leak Checking ......” and “Please
Wait for xx seconds” appear (Fig. 4-1-4).
“XX sec.” is the leak checking time
remained (by count-down, totally 10
seconds).
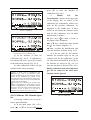
Insert power cable into 220V AC mains
socket, power on and warm up the
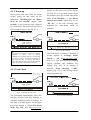
instrument. “Warming Up!” and “Please
Wait for xxx seconds” appear. “xxx
seconds” is the warm-up time remained
by count-down. The total warm-up time is
600 seconds (10 min.). See Fig. 4-1-2.
Fig. 4-1-2 Warm-up after Power-on
Fig 4-1-4 Leak Checking
Warm-up time of 600 seconds is only for the
case when the instrument is operated at ambient
temperature of approx. 20℃. If ambient
temperature is much higher than 20℃, the warm-up
time may be shorter. If ambient temperature is
much lower than 20℃, the warm-up time will be
longer. The warm-up will be automatically ended as
long as the technical requirements are reached.
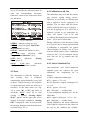
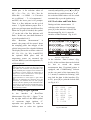
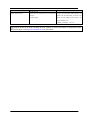
After leak check, if leakage is detected, a
prompt appears as “Leakage, Please
Check......” and “KStart Leak Check Again”
(Fig.4-1-5). User shall check the sampling
system carefully and eliminate any
leakage (Fig. 6.4). If no leakage is
detected, “Leak Checking ......OK!”
appears (Fig. 4-1-6), and zeroing will be
started automatically.
4.1.3 Leak Check
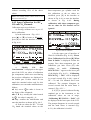
Fig. 4-1-3 Waiting for Leak Check
The instrument automatically enters the
interface of Leak Check after warm-up, to
check the sampling system for leakage. At
this time, a prompt appears on the upper
part of the display as “Cover The Probe
With Tip Cap” and “KStart Leak Check”
Fig 4-1-5 Leak Check Fails
4