1
StuckyNet-Link User Manual
General Print-to-File Instructions
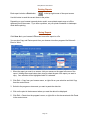
These instructions will help you set up a “Text-Only Printer”, which will allow you to print reports
to a text file.
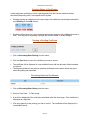
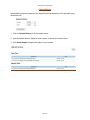
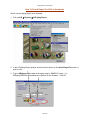
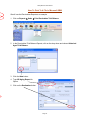
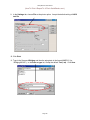
1. Click Start Î Settings Î
Printers.
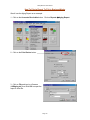
2. Double-click the icon for Add
Printer.
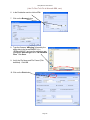
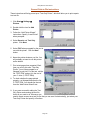
3. Follow the “Add Printer Wizard”
instructions. Specify “Local Printer”
when prompted.
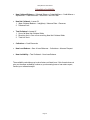
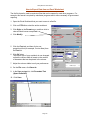
4. Select Generic and Text Only
printer. Click Next.
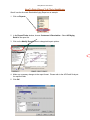
5. Select FILE when prompted for the port to
use with the printer. Click the Next
button.
6. Name the printer whatever you like. You
will probably not want to use this printer
as the default.
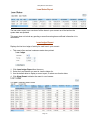
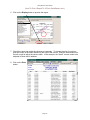
7. Print a test page when prompted. Each
time you print to this new “Text-Only
Printer”, you will be prompted for a
filename to print into. For this test, call the
file “TEST.PRN” and put it in the root of
your C: drive (C:\TEST.PRN)
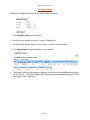
8. To check whether the page printed
properly, run Notepad and open the file
C:\TEST.PRN. You should see the text
from the “Add Printer Wizard” test.
9. If you were successful adding the TextOnly Printer and creating the test file,
that’s all you need to do. Whenever you
need to create a report as a text file (so that you can send it electronically), just select your
Text-Only Printer and specify a file name.
Page 29