1
6. AFtER A FAll
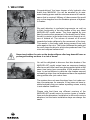
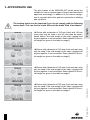
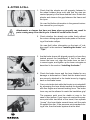
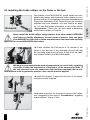
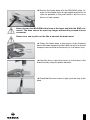
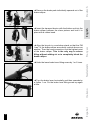
1. Check that the wheels are still properly fastened in
the wheel holders (drop outs) and that the rims are
centred properly in the frame and the forks. Rotate the
wheels and observe the gap between the frame and
the tyres.
You can find further information in the general instruction manual for your bicycle.
Attachments or clamps that have not been done up properly can result in
parts coming away from the bicycle. A hard fall could be the result!
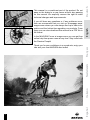
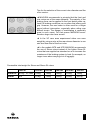
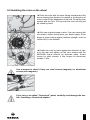
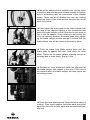
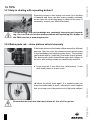
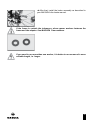
2. Check whether the wheels can rotate freely without
the rotors rubbing against the brake pads or the housing of the brake calliper.
You can find further information on the topic of “rubbing pads” in the sections “Installing the brake” and
”tips.”
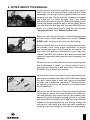
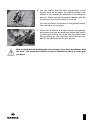
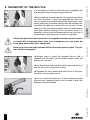
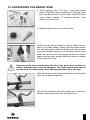
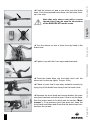
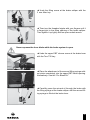
3. Are the brake levers still aligned correctly or have they
twisted around the handlebars? If that is the case,
loosen the lower nut, align the brake lever so that it
is correct again, and tighten up the lower nut again as
described in the section “Installing the brake.”
4. Check the brake levers and the lever blades for any
damage or deformation. Check that the brake hoses
are securely attached in the brake levers by tugging
hard on the brake hoses.
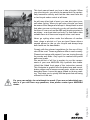
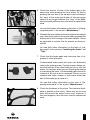
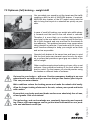
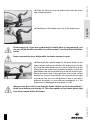
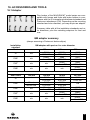
5. Carry out a brake test while the bicycle is at a standstill
by squeezing the lever blade towards the handlebars
with two fingers and normal braking force. The brake
lever may not be allowed to reach the handlebar grip!
The pressure point must be stable at once in the
case of disc brakes. If you have not reached the pressure point after two thirds of the travel, then operate
(“pump”) the lever blade several times until the pads
lie against the disc. If the pressure point wanders during a ride, then the brake system must be bled.
14