1
Import Backup Data Into PAVER™
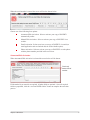
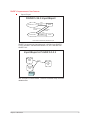
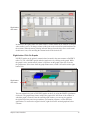
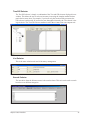
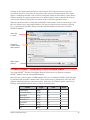
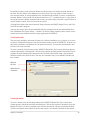
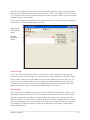
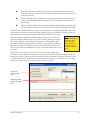
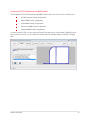
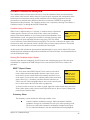
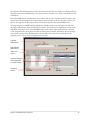
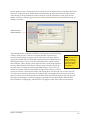
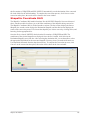
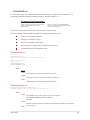
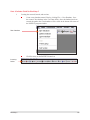
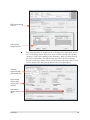
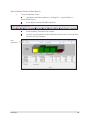
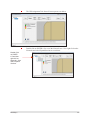
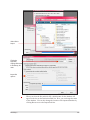
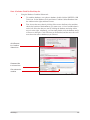
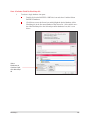
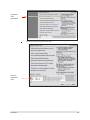
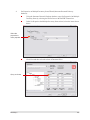
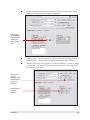
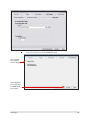
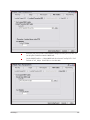
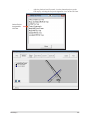
After backup files have been created, the user may then Import Backup Data
into PAVER™ by using the third tab on the Handheld Inspector menu. First
select the backup file to import by hitting Select and choosing from the list.
PAVER™ automatically places and selects files from a default location: EMS
Program Files\User Data\*Name of Database*\PI-Backup Data\.
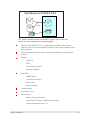
Hint
When downloading
and importing data,
make sure the correct
PAVER™ database is
online.
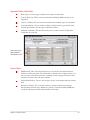
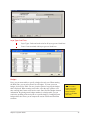
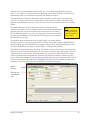
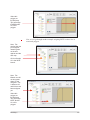
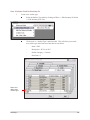
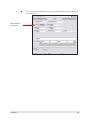
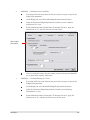
After selecting the backup file, select the inspection date to apply to the data. If some sections were
not inspected or a different inspection date is required for some sections, check the box next to the
sections that should be skipped.
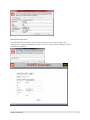
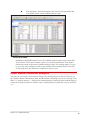
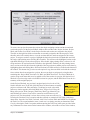
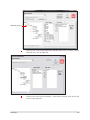
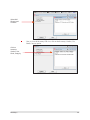
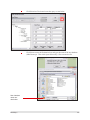
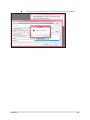
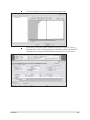
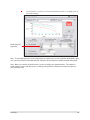
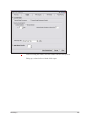
Click Transfer to PAVER™, to transfer the files into PAVER™. The transfer results indicate what
sections where successfully imported and which ones were not. If a section has no inspection
information, the information is not imported into PAVER™ for that inspection date. If desired, the
transfer results may be printed by clicking Print at the bottom of the tab.
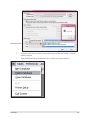
PAVER™ Shapefile Converter
Converting From PAVER™ 4.x to 6
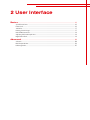
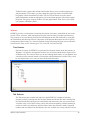
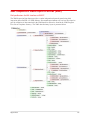
The PAVER™ Shapefile Converter is used to convert shapefiles that were used
in version 4.x of PAVER™ to be used in version 6 (as well as version 5.3) of
PAVER™. The difference between shapefiles in version 4.x and version 6, is
that in 6 shapefiles now contain a Unique ID. The conversion of the shapefile
will verify that the file contains a Unique ID, and will add the field if necessary.
Converting coverages from PAVER™ 4.x to 6 is a two-step process. First take
the PAVER™ 4.x coverage file into ArcView, and convert the *.cov file to a
shapefile (*.shp). To complete the process, the shapefile must be converted
using the PAVER™ Shapefile Converter. Once the shapefile is converted, the
process is completed.
Note
When converting
shapefiles, the
database that is to
be associated with
the shapefile must
be online for the
procedure to work
correctly. Additionally,
all the files that go
with the shapefile
(*.shp, *.dbf, *.sbn,
and *.shx) must be in
the same folder when
converting.
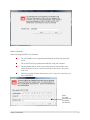
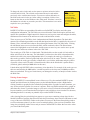
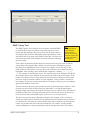
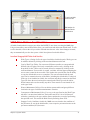
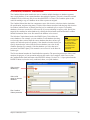
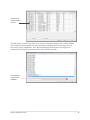
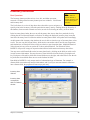
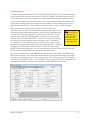
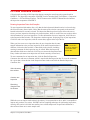
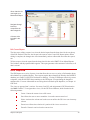
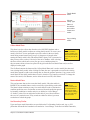
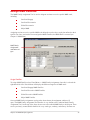
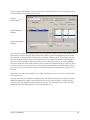
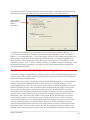
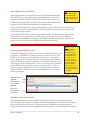
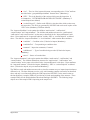
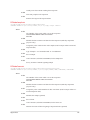
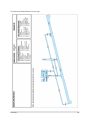
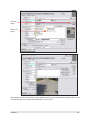
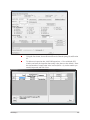
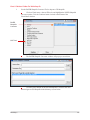
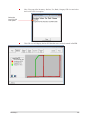
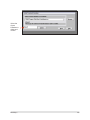
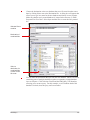
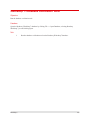
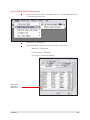
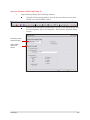
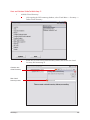
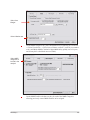
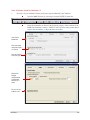
Select the source
shapefile
Destination of
the converted
shapefile
Results of
the shapefile
conversion
Shapefile Conversion Procedure
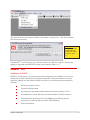
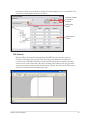
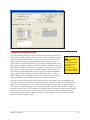
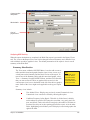
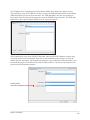
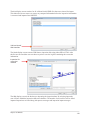
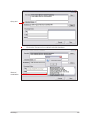
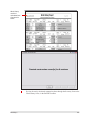
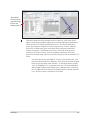
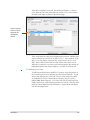
The PAVER™ Shapefile Converter module contains three sections. The first section displays the
Source Shapefile, the second section displays the Destination Shapefile, and the third section displays
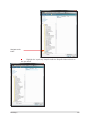
the results of the conversion process. You must first locate the shapefile you wish to convert by
clicking Select, and browsing for the appropriate files. Once the file is selected, PAVER™ checks that
Chapter 16: Add-ins
132