1
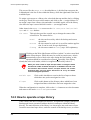
How to select files to restore
Data restoration
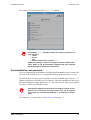
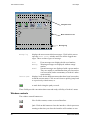
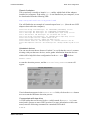
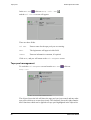
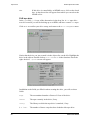
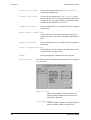
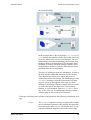
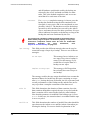
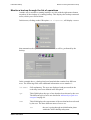
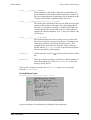
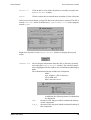
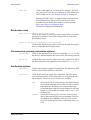
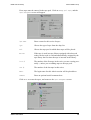
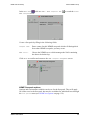
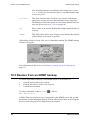
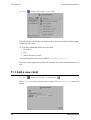
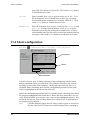
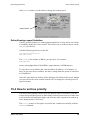
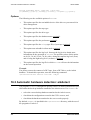
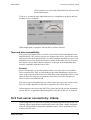
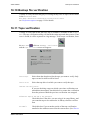
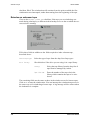
Redirect
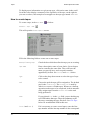
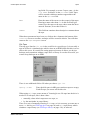
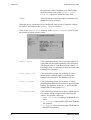
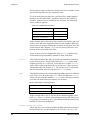
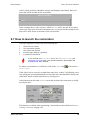
Click on this option to redirect the files that are going to be restored
to another path or computer. This, in turn, allows the restored files to
be compared to their copies, in case you suspect either the backup or
the existing files to be corrupted.
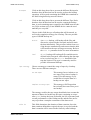
Analyze
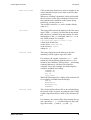
Click on this option to force Arkeia 5 to open its database, search for
the files that have been selected using the other options, and display
the tapes on which these files were backed-up. This option can save
a lot of time if, for instance, some backup tapes are kept off-site in a
storage facility.
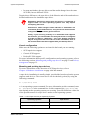
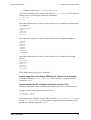
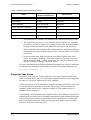
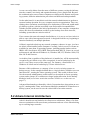
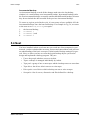
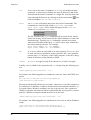
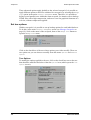
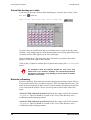
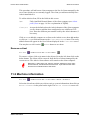
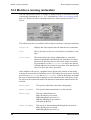
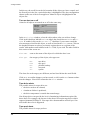
The list under the main options of the Restoration menu displays all the files that
have been selected, or (as is the case in the screen pictured above), a short message
indicating that no files have been selected.
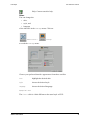
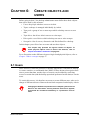
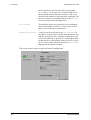
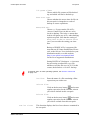
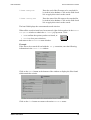
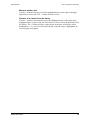
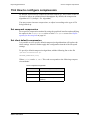
Regardless of its size, a restoration is always performed in the same manner:
1.
2.
3.
4.
5.
File selection.
Restoration options.
Redirection options.
Tape analysis (optional)
Launch the restoration.
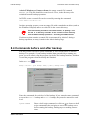
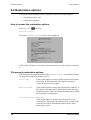
You will be able to select Verification in place of Restoration if you wish to check
the data integrity of the backed up files, without restoring them. Do this in the
Options menu.
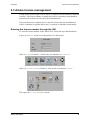
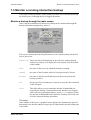
9.3 How to select files to restore
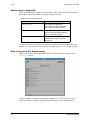
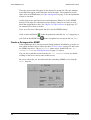
Selecting files for Restoration can be accomplished in three different ways within
Arkeia 5:
•
the Database Navigator (time-based file selection),
•
the Database search engine (file name selection), or
•
the complete path and name of the file.
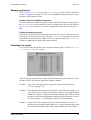
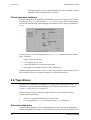
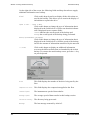
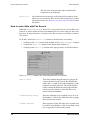
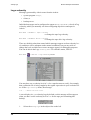
How to select files with the Database Navigator
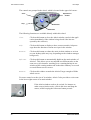
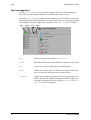
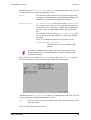
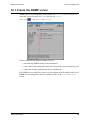
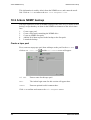
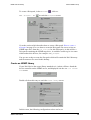
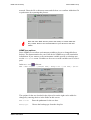
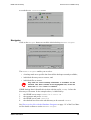
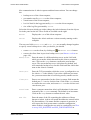
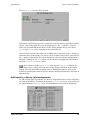
This function provides an easy way to explore the Arkeia database and select the
files that should be restored. This function should be used when you know which
files should be restored, and at which date and time they have been backed-up.
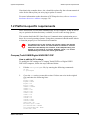
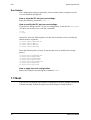
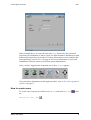
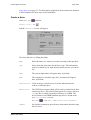
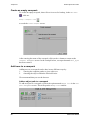
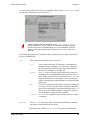
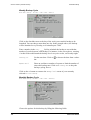
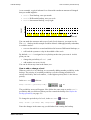
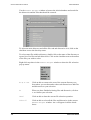
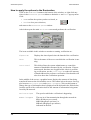
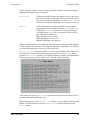
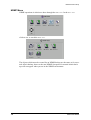
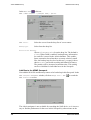
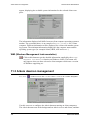
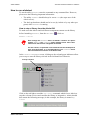
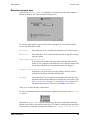
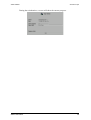
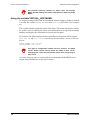
To access the Database Navigator click on the Navigator button in the
main Restoration menu.
132
Arkeia 5 User Manual