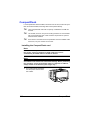
1
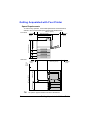
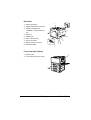
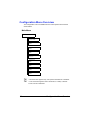
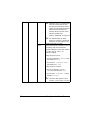
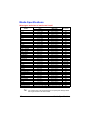
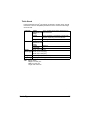
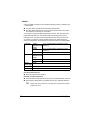
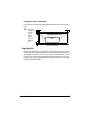
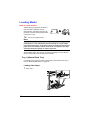
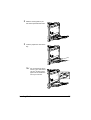
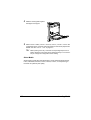
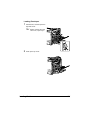
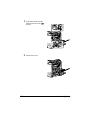
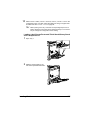
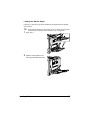
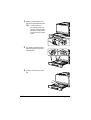
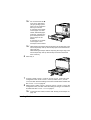
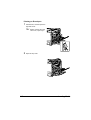
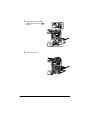
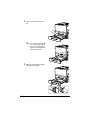
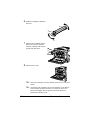
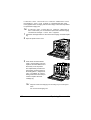
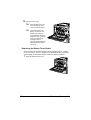
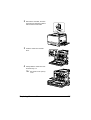
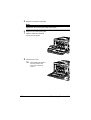
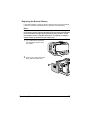
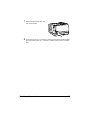
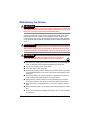
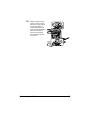
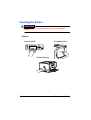
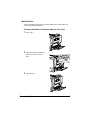
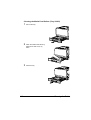
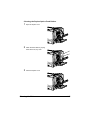
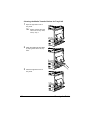
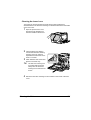
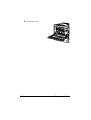
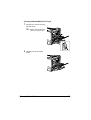
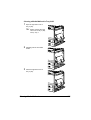
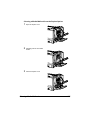
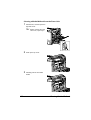
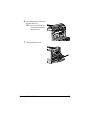
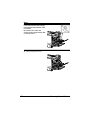
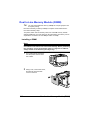
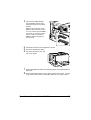
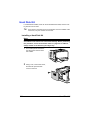
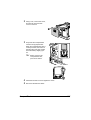
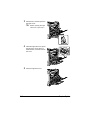
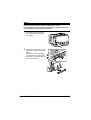
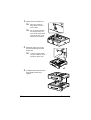
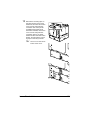
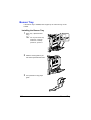
3
Insert the new DIMM straight
into the DIMM connector until
the latches snap into the locked
position.
Observe the keyed side of the
DIMM to align it with the connector. If you cannot snap the DIMM
into place, do not force it. Reposition it, making sure that the
DIMM is seated completely in
the connector.
4
5
6
7
8
Attach the left-side cover and tighten the screws.
Reconnect all interface cables.
Reconnect the power cord, and
turn on the printer.
Declare the additional RAM in the Windows printer driver (Properties/Configure tab).
Print a configuration page (PRINT MENU/CONFIGURATION PG) and
verify that the total amount of the RAM installed in your printer is listed.
Dual In-Line Memory Module (DIMM)
203