1
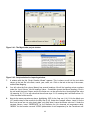
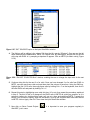
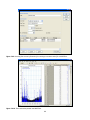
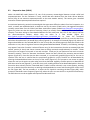
8. Similarly to changing the input data units, the output data units also need to be changed. To do this,
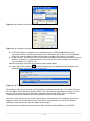
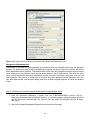
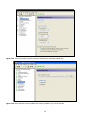
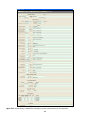
open Input Data Editor and then double-click on “EXT TARGETS” so the “Edit EXT TARGETS
Block” window opens. You will notice that only one dataset (FLOW) is in the external targets block at
this stage, as no data has been added for WinHSPF to model. Under the TSystem column (third
from the right), double-click on ENGL and change to METR. This changes the units from the English
cubic feet per second to the Metric cubic meters per second. Then Apply, then OK, then save.
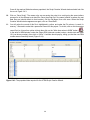
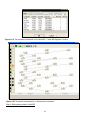
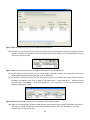
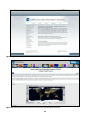
9. Next step is to specify the time-step of the output time series. To do this, open Input Data Editor,
then double-click on “OPN SEQUENCE”. Once the “Edit Opn Sequence Block” window opens, you
will see the number 60 in the top left corner (Indelt – Input time series interval), signifying 60 minute,
or 1 hour, interval. To change this to daily, insert 1440 (as there are 1440 minutes in a day). Then
Apply and OK, and close the Input Data Editor window, then save.
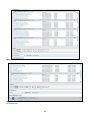
10. The basic data is now in the correct format to run the WinHSPF model without changing all the
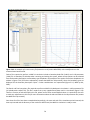
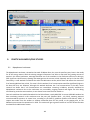
activated default data. To now run the model, click on the Run button (
).
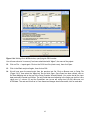
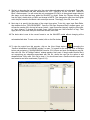
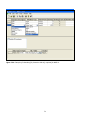
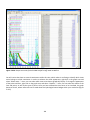
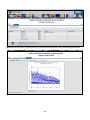
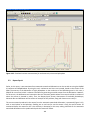
11. To view the output from this scenario, click on the View Output button (
), prompting the
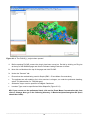
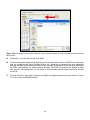
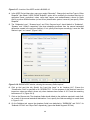
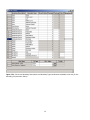
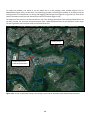
“GenScn Initialization from BASINS window” to open. To browse for the map file, click on Browse
button and navigate to C:\BASINS\BASINS Lessons (2011)\Demo and open the Mpophom.map file,
then click OK. If an “ATCoMap Problem” window appears, don’t panic. It simply means that the file is
not recognizing any shapefiles associated with this file, where the user has the option to add
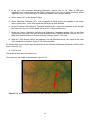
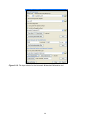
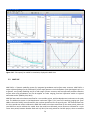
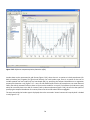
shapefiles later if they wish. Click OK to clear it. You should now have a GenScn window open, with
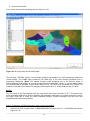
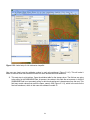
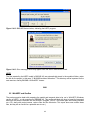
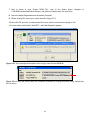
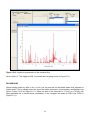
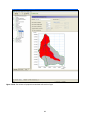
two scenarios and nine constituents (Figure 2.5.9).
50