1
Chapter 1: Getting Started
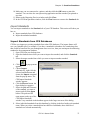
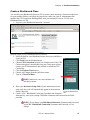
Install CPS Student Content Databases
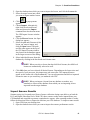
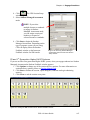
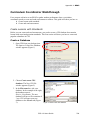
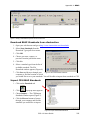
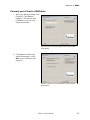
1. Insert the Content CD into your CD-ROM drive.
2. Wait while the CD-ROM installs the content automatically. If the installation process has
not started in two minutes:
a. Click the Start button from your Windows taskbar.
b. Click the Run command. In the pop-up window, type the CD-ROM drive letter and
then “:\customdatabasename.exe” For example: d:\ImageLibrary.exe
c. Click OK.
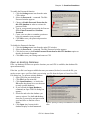
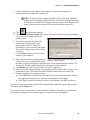
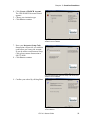
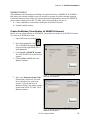
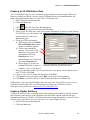
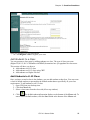
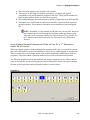
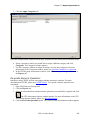
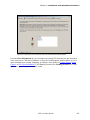
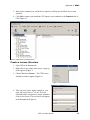
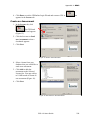
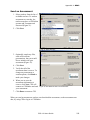
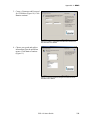
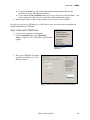
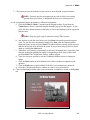
In the License Agreement dialog box, click I Agree and Continue. If you do not agree, the
installation process stops.
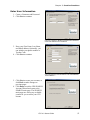
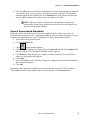
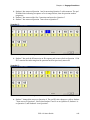
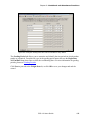
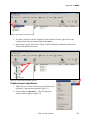
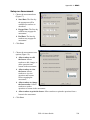
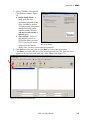
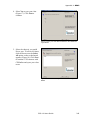
3. Choose the drive to which you want to install the database(s).
4. Click Continue.
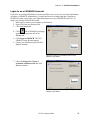
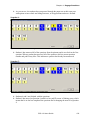
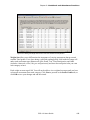
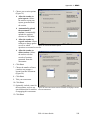
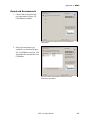
5. Type your User Code in the next dialog box.
6. Click OK.
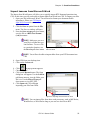
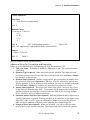
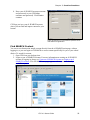
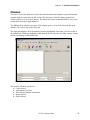
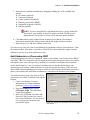
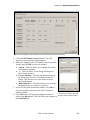
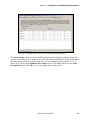
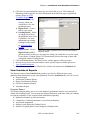
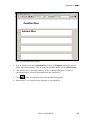
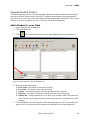
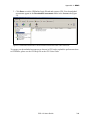
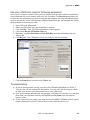
The next dialog box lists the components purchased. Select which components you want to
install now. You do not have to do multiple components at one time; you can return and do this
process again to finish installing all of your purchased components.
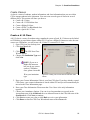
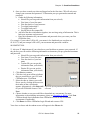
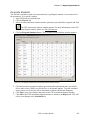
7. Click Finish at the end of the installation process. You have now installed the CPS
Content database(s) to your system.
CPS 4.0 Users Guide
3