1
User manual Endurance
Appendix A.
Installation
The Endurance shipping container is supplied with a packing list. Please check that all items
mentioned in the list are included in the package before you start the installation procedure
for the Endurance.
Do not install the Endurance in areas subject to shock, dust, or in direct
sunlight. Do not place it near a source of heat, as this will disturb tray cooling
(if this option is installed).
The Endurance must only be connected to power sources and apparatus with
protective grounding.
Execute the following steps to install the Endurance:
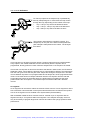
1. Lift the Endurance from the shipping container. Make sure you keep the apparatus
upright; lift it by placing your hands under the Endurance.
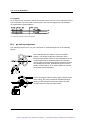
2. Place the Endurance in its operating location, preferably on the left hand side of the
HPLC system. Make sure the ventilation holes are not obstructed. Allow the instrument
to acclimatize for 1 hour.
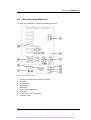
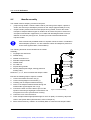
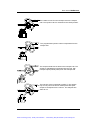
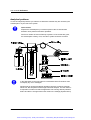
3. Install plate holder (figure 1.1, number 5) in the Endurance (on the flat surface
underneath wash solvent bottle; as far to the left and to the back as possible).
4. Check whether local voltage matches voltage indicated on back panel of the Endurance.
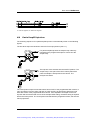
5. Connect the power cord to the Endurance (figure 1.2, number 5).
6. Switch the Endurance on by using the switch at the back of the apparatus (figure 1.2,
number 4).
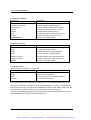
The Endurance now starts up. The display indicates that a self-test and initialization
procedure are executed. After completion of this procedure the following appears on the
display:
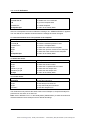
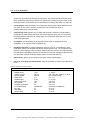
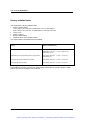
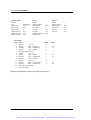
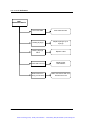
10:26 TUESDAY MAY 30-98 [MENU]
READY (x.xx)
<EXCHANGE>
<WASH>
<SYR END>
<UTILS>
If the Feeder option is installed, the following Ready menu appears:
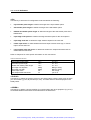
10:26 TUESDAY MAY 30-98 [MENU]
READY (x.xx)
<PLATES>
<WASH>
<SYR END>
<UTILS>
0060.183.21
Artisan Technology Group - Quality Instrumentation ... Guaranteed | (888) 88-SOURCE | www.artisantg.com
51