1
RKP115 / RKP117 / RKP119
User Manual
11.
KVM Session
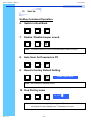
Installation Steps
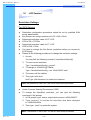
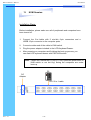
Before installation, please make sure all of peripherals and computers have
been turned off.
1.
Connect the 3-in-1cable with 2 mini-din 6-pin connectors and a
HDDB 15-pin connector to the computer ports.
2.
Connect another end of the cable to KVM switch.
3.
Plug the power adapter included to the LCD Keyboard Drawer.
4.
After powering on computers and finishing the boot-up process, you
can start LCD keyboard drawer with PS/2 KVM switch.
Note: Please don’t switch the PC port (i.e. Don’t press the push button of
KVM switch or run hot key) during the computers are under
boot-up.
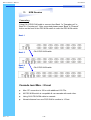
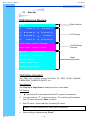
PC
DC
Adapter
CD-6 3-in-1 cable
Rev. : 1.0
P.19