1
1. X RAY MICROPROBE
1.5 DATA ACQUISITION
Here we will define two-dimensional rectangular area in order to make both
vertical and horizontal scan. Later, we will make it one-dimensional by setting map
dimension to one pixel in direction we don't need to scan. In this case the program
ignores scan size defined in the direction for which map dimension is one pixel.
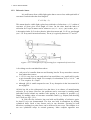
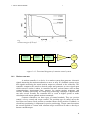
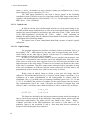
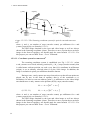
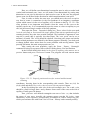
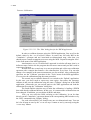
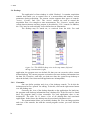
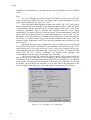
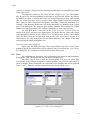
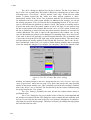
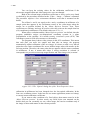
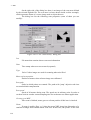
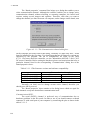
First, in order to define the scan area, you should move the cross on such a
way that its center is somewhere in the first quadrant of an imaginary coordinate
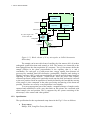
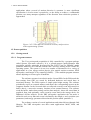
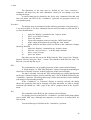
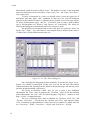
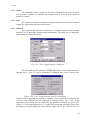
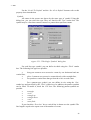
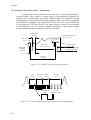
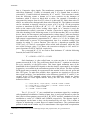
system which center is in the exit of capillary, as it is shown on the Fig. 1.5.3.2.1. The
exact position is not important and distance from the center of the cross to the
capillary can be any. It is recommended to put the center as close to capillary as you
can, but still not moving it outside of the first quadrant.
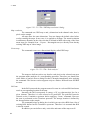
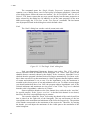
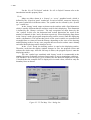
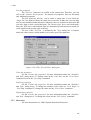
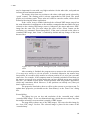
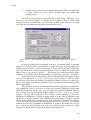
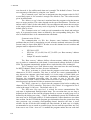
Then open the 'Scan… Properties' dialog box. There, select for the scan path
'vertical with jump' or ‘horizontal with jump’ option. These are two preferred ways of
scanning because they take into account backlash. The backlash is important if scan
step-size is small, that is typically less then 50µm. The 'scan speed' can be set to
maximal (10 units). The 'zoom' should be checked. Note that gain, torque and similar
motor related parameters are defined by the Motor program. Normally, you don't need
to change default values unless there are some problems with moving motors. Upon
pressing Ok button, the main scan properties are set.
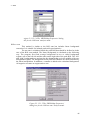
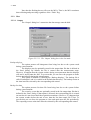
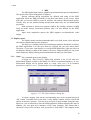
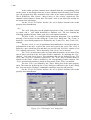
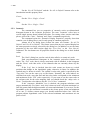
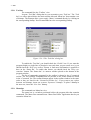
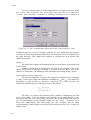
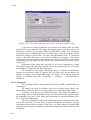
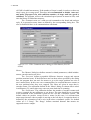
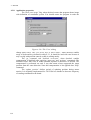
After setting the scan properties, apply the 'Scan… Export… Rectangle'
command. It brings up a property sheet with two dialog boxes: Size and Position.
In the Position dialog box check 'in the front of capillary when motors are at
position' button and press 'read motor' button. The program will read current motor
y [mm]
I quadrant
O
capillary
(0,0)
x [mm]
Figure 1.5.3.2.1. Properly positioned cross for vertical and horizontal
scanning.
coordinates, showing them in the corresponding edit controls. Then set (0,0) for
(dx,dy) shift and check 'Set (x+dx,y+dx) as a new referent position' button.
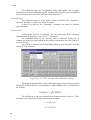
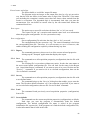
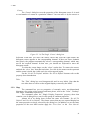
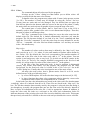
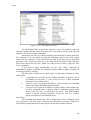
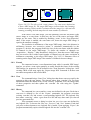
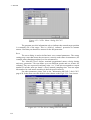
In the Size dialog box enter size of the scan rectangle area. The x and y size
should be a little bit larger then x and y distance from center of the cross to the exit of
capillary. Finally press Ok button.
Now, you have well defined rectangular scan area of size x × y that includes
the center of your cross. Actually, the program creates scan.dat file in the ..\scan
subdirectory of the Spector's root directory. In addition it creates scanxxx.log file,
which you can latter edit with 'Scan View' or 'Scan... History' and eventually modify.
40