1
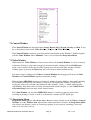
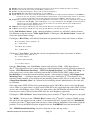
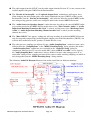
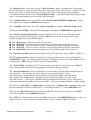
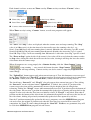
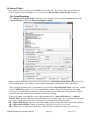
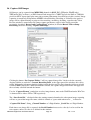
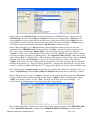
Enable: If cleared, this Sub Window will disappear from the video frame. By default sub window is enabled.
Freeze: If selected, the video inside the Sub Window will be frozen.
Border: Selecting this will place a white border around the Sub Window.
Border Blink: This will make the Sub Window’s border blinking.
Zoom: This will zoom the video inside the Sub Window when left mouse clicks inside the Sub Window with Shift-key
held down: the video from the point the Left Mouse clicked will be zoomed 2 times larger and this zoomed video
is shown inside the Sub Window. Left click again without holding the Shift-key will cancel the zooming.
Popup: This decides the display priority between Sub Windows when they overlay: when two Sub Windows overlap the
Sub Window with “Popup” selected will display on top of the Sub Window with “Popup” cleared. If both Sub
Windows have the same “Popup” selection (both selected or both cleared) then the lower numbered Sub
Window will have higher display priority.
H.Mirror: Selecting this will flip the video inside the Sub Window horizontally (swap left and right).
V.Mirror: Selecting this will flip the video inside the Sub Window vertically (upside down).
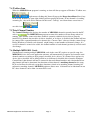
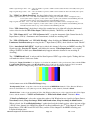
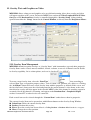
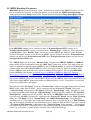
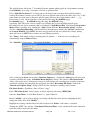
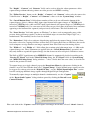
In the “Sub Window Colours” group, changing brightness, contrast etc. will affect colours for those
Sub Windows using the current “Video Input Source”. Clicking the “Set Default Colour” button will
restore the default colour settings.
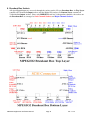
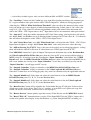
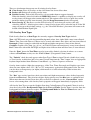
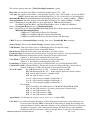
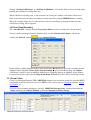
Clicking the “Hori. Delay” will shift the horizontal start position of the entire video frame as follows:
Horizontal delay: must be within 0 ~ 63:
0 = - 32 Pixel delay
::
32= 0 Pixel delay (default)
::
63= + 31 Pixel delay.
Clicking the “Vert. Delay” will shift the vertical start position of the entire video frame as follows:
Vertical delay: can be within 0 ~ 31:
0 = -11 Lines delayed
::
12 = 0 Line delayed (default)
::
31 = +19 Lines delayed.
Note the “Hori. Delay” and “Vert. Delay” buttons only affect the VIN0 ~ VIN3 Input Sources.
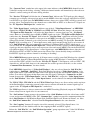
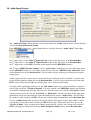
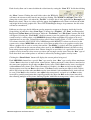
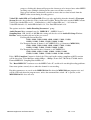
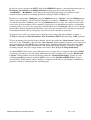
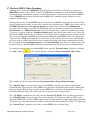
The 5th Video Input Source has its own settings for video horizontal and vertical start/stop positions via
buttons “VIN4 Horizontal Start/Stop”, “VIN4 Vert. Blank Start/Stop” and “VIN 4 Auto Crop”. Its
video signal source can be either externally from the RCA(VIN4)/SVideo(VIN5) sockets on the
Breakout Box, or internally from the matching channel’s video output by ticking “VIN 4 Input from
Matching Chan” --- ticking/clearing this box will also power down/up the 5th Video Input IC (the
matching channel number is also displayed if the matching channel exists). Please do not tick the “VIN
4 Input from Matching Chan” on a channel and its matching channel simultaneously: the result will
be undefined.
Note when socket VIN5 (SVideo) has signal input but socket VIN4 (RCA) doesn’t and a Sub Window
selects VIN4 as its input source, or when socket VIN4 (RCA) has signal input but socket VIN5 (SVideo)
doesn’t and a Sub Window selects VIN5 as its input source, that Sub Window will show black & white
video because socket VIN4 and socket VIN5 share the same Brightness signal line.
Clicking the “VIN 4 IC Reset” button momentarily power-down the 5th Input IC then power it up again.
The “ROM *” field next to the “VIN 4 IC Reset” button is the 5th Input IC’s software (ROM) version:
this can be 0 as the original version, or 0x8C as the downloaded latest version if the box “PatchROM”
is ticked: note if the 5th Input signal shows incorrect colour changing the ROM version could rectify the
problem. To revert the ROM version to original 0 clear the “PatchROM” box then reboot the PC.
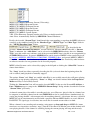
The “VIN4 Horizontal Start/Stop” has these limits for its start and stop values:
MPEGIO2 Application Software Manual
Page 11
Ver. 1.0.2