1
Connectivity
3.3
ST7-EMU3 series emulator
Ethernet connection
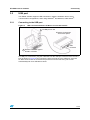
Your EMU3 emulator supports 10 MHz Ethernet connections when set up in the emulation
configuration. When you program with the ICC Add-on, use the parallel or the USB port.
For Ethernet connections, you must first give your ST Micro Connect box an IP address in
order for it to be recognized as a device on your network. If your ST Micro Connect box has
not been assigned an IP address, refer to Section 3.3.1 on page 12 for detailed instructions.
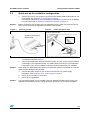
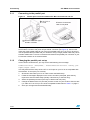
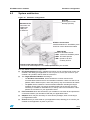
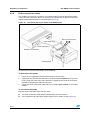
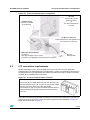
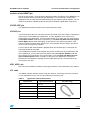
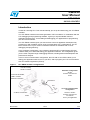
Figure 10. Ferrite for Ethernet cable
Connect a ferrite as close as
possible to the end of the cable that
will be plugged into your
ST Micro Connect box
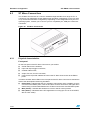
Once you have assigned an IP address to the ST Micro Connect box, connect it to your
network using the Ethernet connector on the rear panel. To reduce signal noise, you should
attach the provided ferrite to your Ethernet cable as shown in Figure 8. The ferrite should be
placed as close as possible to the end that is plugged into your ST Micro Connect box. The
Ethernet cable is not provided with your EMU3 emulator.
3.3.1
Assigning an IP address
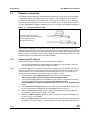
To give your ST Micro Connect box an IP address do the following:
1.
Note:
12/39
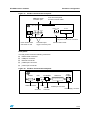
Connect the provided serial cable between the serial port of your ST Micro Connect
and a serial port on your PC (either COM1 or COM2).
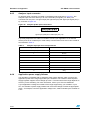
To set the IP address, you must use a direct serial cable like the one provided (i.e. the PCside Receive Data pin (Rx) connects directly to the emulator-side Rx pin and the PC-side
Transmit Data pin (Tx) connects directly to the emulator-side Tx pin). You cannot use a
serial cable with an inverted connection (Rx pin connected to Tx pin).
2.
From Windows, open a Hyperterminal window. This is done by selecting
Start>Programs>Accessories>Communications>Hyperterminal.
3.
If the Hyperterminal software is not installed on your system, you will have to install it
from your Windows® CD-ROM, by selecting Start>Settings>Control
Panel>Add/Remove Programs>Windows Setup, and clicking on the Hyperterminal
option.
4.
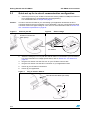
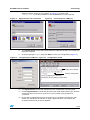
The Connection Description dialog box will open. Type in the name you wish to give
to the new connection configuration and click OK, as shown in Figure 11.
5.
When the Connect To dialog box opens, select the serial port on your PC that you
connected the serial cable to in Step 1. Click OK..
6.
When the COM1 Properties dialog box opens, configure the COM port properties as
shown in Figure 13. Click OK.
7.
When the Hyperterminal console opens, type ipaddr at the prompt, followed by the
IP address you wish to assign to your ST Micro Connect box. Remember that this IP