1
Page 5
Step 3: Use Dexter
After setting options, you are ready to give Dexter a test drive. First, you may want to get a
feel for what the main Dexter shopping screen can do for you, and how you can control the
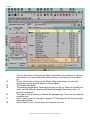
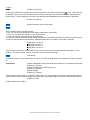
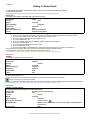
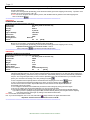
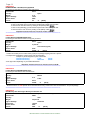
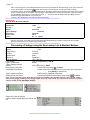
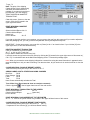
information that will be presented on this screen. See, Figure 12, to match up the following
bullets to the tools that exist on the main Dexter shopping form. This is an image of
Version2.
1. Click on this button to bring up the main Dexter shipping rate shopping form as show in
the Dexter window.
2. Click on this button to bring up the manifesting form.
3. Click on this button to bring up the progress meter tool. This tool will time your shopping
process in seconds with each step timed in milliseconds.
4. Click on this button to toggle on and off the carrier shipping costs, the insurance costs
and the special fee costs. We call this the eyeball button.
5. Click on this button to bring up the form where you can print out markup tables for all
carrier services.
6. These arrows point out the undo, cut, copy and paste tools.
7. Click on this button to open the store information options form.
8. Click on this button to bring up the specific options form.
9. Click on this button to bring up the Extensive Markup Setter tool.
10.
Click on this button to bring up the Bulk Operations tool.
11.
Click on this button to bring up the Special Services option area.
12.
Click on any of these buttons to bring up specific options for the different
carriers. The Quick Markups are done there.
a.
Domestic: if you are using the Quick Markup method, set your markups here
for each carrier.
b.
International: if you are using the Quick Markup method, set your markups
here for each carrier.
c.
Insurance: set the markup for insurance.Services Offered: turn off services that
you don’t use in your store.
B&L Associates is an online software vendor of excellence