1
User Manual
Page: 23
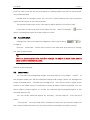
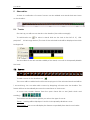
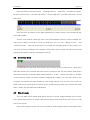
Offset shifts the notes, so you can set the start to the left of your keyboard. The note and
channel received are displayed next to the “Key” label, so you can see whether MIDI
input works, and on which channel the device is sending. When you click the L button
you can teach in offset and channel (unless “any ch.” is checked): Press the leftmost
key on your keyboard. If you want to abort the operation press the “L” button again.
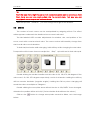
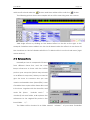
You can also select a range or a single slot in the frame list table and the assign MIDI
keys for these frame lists. Select “assign keys to framelists” form the drop down list right to
the “P” button, select the slot(s) in the frame list table (use shift plus the arrow keys on
your computer keyboard to select a rectangular range), then click the “P” button, and
a MIDI key. Keys will be assigned from top to bottom and then left to right to the selection.
To assign a key for stopping playback select “Key to stop playback” from the dropdown
list, click “P” and press the key on the MIDI keyboard. The
keyboard layout can be saved/loaded independently or
together with a session.
7.3
Controlling effects with MIDI
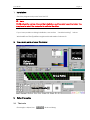
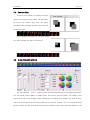
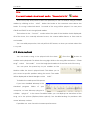
You can use the Pitch bend and (up to six) Control wheels
of your MIDI keyboard to change different effects during
playback. Select the effect from the dropdown list. To assign
the control wheels, press the “L” button left to the list and
then move the wheel.
8
Settings
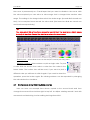
Color and output settings will be explained in chapter “Hardware support”.