1
USER MANUAL
Attaching the Sensor and Making Measurements
1] Anesthetize the animal, then connect the MouseOx®, Universal Cable and Mouse Thigh Sensor.
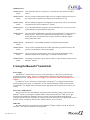
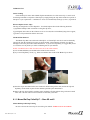
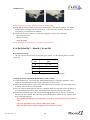
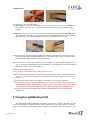
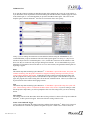
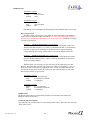
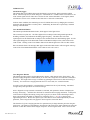
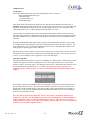
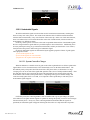
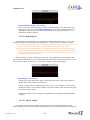
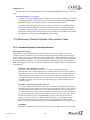
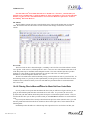
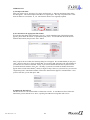
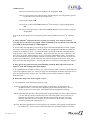
2] Place the animal either prone or supine on the lab bench surface. Place the Rat Foot Sensor on the foot
of the animal so that the sensor protrudes directly off the end of the foot past the toes, as shown in the
figure below.
It is also important to observe the following:
- Make sure that the clip is CENTERED on the foot laterally
- Do not place the clip on the base of the foot near the ankle
- Do not place the clip too far toward the toes such that light can pass directly between the sensor
pads without passing through tissue.
3] Check that the wiring assembly is connected to the MouseOx®, then start the software. You MUST
USE Revision 6.3 or higher with the ThroatClip™. Follow the menu of buttons, choosing those
appropriate to your measurement conditions.
4] If signals do not come in quickly, or performance degrades over time, try the following:
- Re-position the sensor
- Replace the sensor
8.2. Pulsar™ Small-Bore MRI Sensor
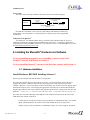
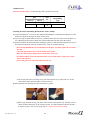
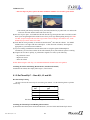
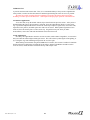
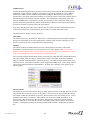
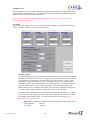
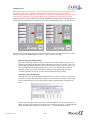
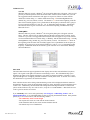
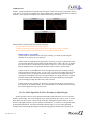
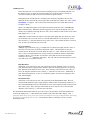
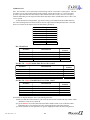
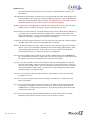
Assemble your Pulsar™ Small-Bore MRI Sensor in the configuration shown in the following figure.
Single Black Cable – 15 ft
Converter Box
Disposable Sensor Clip
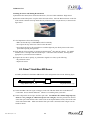
1] Connect the DB9 Connector (9-pin connector) on the end of the thin black cable to the MouseOx®
Control Box. Be sure that the MouseOx® software is not running when you do this.
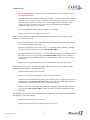
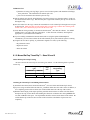
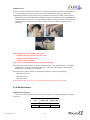
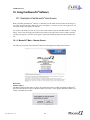
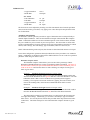
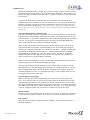
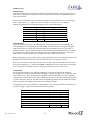
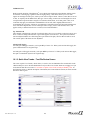
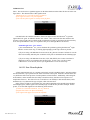
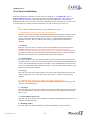
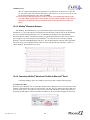
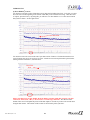
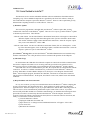
2] Connect a disposable sensor clip to the fiber-optic cable. You MUST USE a Mouse Thigh Clip (any
mouse or a rat ≤ 100 gm) or a Rat Foot Clip (for rats > 100 gm). Place the protrusion on the end
of the fiber-optic cable labeled “LED” into the hole on the clip half marked “LED,” then do the same
for the side marked “PD.” Make sure that the fiber-optic cable is oriented so that it aligns over the
handle as shown.
P/N 100017, Rev. 5.3.1
18