1
14 . Using Perfect Portrait
retouching to everyone in the scene.
Adding Faces
Occationally Perfect Portrait may not find the face you wish to retouch in a
scene. This can occur if:
The face is small compared to the rest of the image
The subjects eyes are closed or has heavy glasses on
The subject is in a profile pose
The subject is upside-down
The lighting contrast is heavy
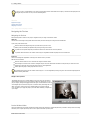
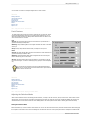
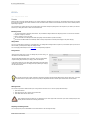
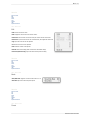
If Perfect Portrait does not find a face automatically you can manually it by
pressing the Add button at the bottom of the Faces pane. A Square box
appears on screen. Move it over the face you wish to add. Adjust the size
of the box with the side handles. The box should go from hairline to chin
and be centered on the face. When you have the box adjusted, press the
Apply button and Perfect Portrait will add the new face.
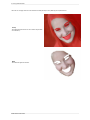
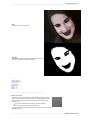
On manually added faces you may need to use the Skin Refine tool to
adjust the boundries of the skin selection. The eye and mouth masks must
be manually painted with the Eye and Mouth Refine tools as well.
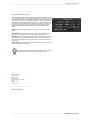
Faces Tool
The Faces Tool is the first tool in the tool well. It is used to select which face you want to
work on if you have more than one face in your image. It is the default tool selected when
you open Perfect Portrait. The currently selected face will have a white bracket around it.
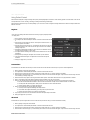
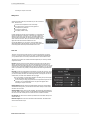
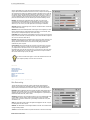
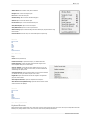
The inspector for the Faces Tool contains all the basic adjustments you need to get started
using Perfect Portrait:
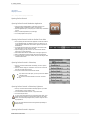
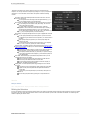
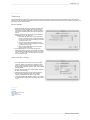
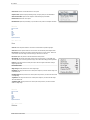
Face Size: The Face Size control used to adjust the overall size of the face skin mask. To
adjust it, click and hold on the pop-up. The current automatic face skin mask is shown. If
important skin areas at the edges of the face are not included select a larger size. It may take
a second or two to render the updated mask. Keep the pop-up held down so you can see the
results of your selection. Keep in mind you always refine the skin mask using the Skin Refine
Tool.
Face Only: The face only toggle limits the skin retouching to just the skin of the face. This is
on by default and is recommended for most uses. This will prevent other flesh colored areas in
your scene from being retouched. This include things like hair or other people. Their are two
occasions when you would want to disable the face only toggle:
If you are working on a single subject with little or no clothing and you wish to apply
the skin retouching to all of the subjects skin.
Your are working on a large group portrait where it is impractical to adjust each face
separately. You can instead disable the face only option and apply the same
retouching to everyone in the scene.
Blemish Removal: Sets the amount of automatic blemish removal. This removes medium
sized blemishes like large pores, acne and fine lines and wrinkles. Usually 70-80 for females
and child or 30-40 for males.
Skin Smoothing: Sets the amount of skin smoothing. This smooths the overall appearance
of the skin, similar to powder is cosmetics. Use the smallest amount needed as this will reduce
the texture in the skin. Generally 20-50 for females and 10-30 for children and males.
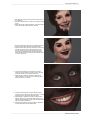
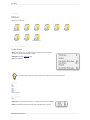
Eye Strength: Sets the amount of automatic eye enhancement. This whitens the eyes and
increase the clarity.
Mouth Strength: Sets the amount of automatic mouth enhancement. This whitens teeth
and increase the vibrance of lips.
See also
Perfect Portrait User Guide