1
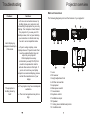
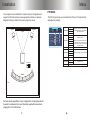
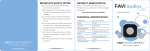
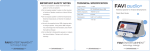
Projector overview
Maintenance
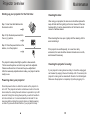
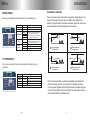
Starting up your projector for the first time:
Cleaning the lens:
Step 1: Insert two AAA batteries into
the remote control.
After using your projector, the lens cover should be replaced to
keep dirt and dust from getting on the lens. However if the lens
becomes dirty, it can be cleaned with a soft cloth and a small
amount of window cleaner.
Step 2: Flip the main power switch to
the on (-) position.
Step 3: Press the power button on the
remote, or on the projector.
The projector’s lamp should light up within a few seconds.
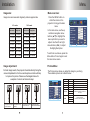
The focus and keystone correction may need to be adjusted.
Please see the section on focus and keystone adjustment.
After the necessary adjustments are made, your projector will be
ready to use.
Powering down your projector:
Press the power button on either the remote or the projector to
turn it off. The projector will enter a shut down mode. In the shut
down mode, the cooling fans will continue to operate for up to 90
seconds. During this cooling down period, you will not be able to
turn the unit back on. It is recommended to let at least 15 minutes pass before turning the projector back on. Rapid powering
on and off cycles will shorten the life of your projector’s lamp.
When cleaning the lens, wipe it gently with the cleaning cloth to
avoid scratching it.
If the projector is used frequently, or is used in a dusty
enviroment,
. the lens should be checked at least once a month,
and cleaned if necessary.
Cleaning the projector’s casing:
If your projector’s casing becomes dusty, it should be unplugged,
and cleaned by wiping it down with a damp cloth. If necessary the
projector’s casing can be cleaned with the aid of a mild detergent.
Make sure the projector is completely dry before plugging it in.