1
VLS-Tracker
3.3
Program Installation
Installing Streets On A Disk
Before installing streets you should have items 1 through 3 in “Before You Install IntelliTrak Software”
completed.
VLS-Tracker software operates together with Streets On A Disk map program. Streets On A Disk program
may be installed either before or after VLS-Tracker setup, but VLS-Tracker should not be run for the first time until
after Streets On A Disk is installed. Therefore it is highly recommended that Streets On A Disk be installed
before VLS-Tracker.
Streets On A Disk software must be installed in the following order:
1. Insert the Streets On A Disk installation CD-ROM in the CD drive or diskettes in the FDD.
2. Launch SETUP.EXE from the installation media.
3. Then follow the instructions of the installation wizard.
4. Use default settings in the Streets On A Disk installation wizard. Install it in the suggested folder.
5. When installation is completed, restart the computer.
At this time you may run the Streets On A Disk program if you wish and select the map(s). All of the Streets
On A Disk configurations cannot be completed until VLS-Tracker is installed.
3.4
Installing VLS-Tracker Programs
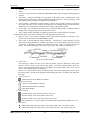
1. Insert the HASP key (supplied with the installation kit) into the parallel port of your PC.
Note:
XP Professional may need the latest HASP update to support our software key. The file
HardlkXP32.zip is located on the Tracker CD. It is a Win32 HASP Device Driver (GUI)
Installation Utility (Version 4.85). Unzip the files to a temp folder on your hard drive and read
the readme.txt file. Then run the HDD32.exe driver installation program which was unzipped to
the same location. Note: Windows XP can only be used with the Tracker Client Software.
2. Insert installation CD.
3. Setup should start automatically. If Setup does not start automatically, start the program using
Setup.exe on the installation CD.
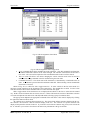
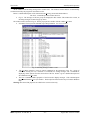
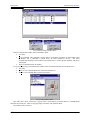
4. If the Windows Explorer window does not open to a full screen view, click maximize button in the
upper right corner of the window to display in full screen.
5.
Click “Install” on the left side of the window.
6.
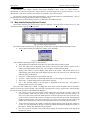
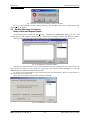
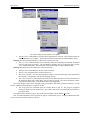
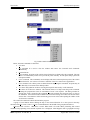
Select “Run Program from its current location.” Then OK.
7.
Select “Yes” to “Do you want to install and run ‘setup .exe’ from …”
8.
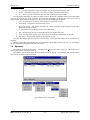
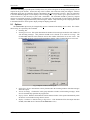
Read the license and select “Yes” to the license agreement.
9.
Please read the displayed Information text and then select “Next”.
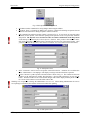
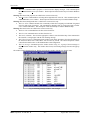
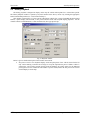
10. Enter customer information including serial number and then select “Next”.
11. Select “Next” to choose default destination location.
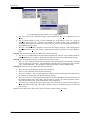
12. Select Setup type “Typical” and then “Next”.
13. Accept “VLS Tracker” for the program folder by selecting “Next”.
14. Review setup information and select “Next” to accept.
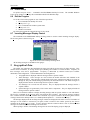
15. Select “Next” for the “HASP Device Driver Installation”.
16. Select “Next” for “Installation Status”.
17. Select “Next” for the “HASP Device Driver Installation” Finished.
18. Select “Finish” for “VLS Tracker Setup Complete”
19. After installation program finishes, it is best to restart the computer at this time to let any changes
made take effect.
AES Corporation 40-7500 Rev. D
– 10 –
August 2005. Version 1.2.2005