1
UMX-ETH
IP NETWORK CONNECTION CARD
FOR UMX-02/0 MODULAR MATRIX
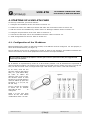
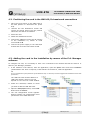
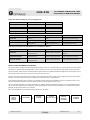
4.2. Positioning the card in the UMX-02/0 chassis and connections
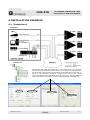
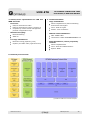
1. Move the front switch on the UMX-02/0 to
the OFF position or disconnect the power
strip.
Figure 4
2. Unscrew the two attachment screws and
remove the blank panel from the position
where the card has to be installed.
3. Insert the card.
4. Fasten the attachment screws.
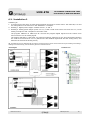
5. Connect the UMX-ETH card to the IP network
of the installation by means of RJ45
connector A or B.
6. Connect the power supply to the UMX-02/0
chassis and move the front switch to ON.
4.3. Adding the card to the installation by means of the P.A. Manager
software
To configure the card, it is necessary to have a PC connected to the network that has the SCF-01 or
SCM-01 (P.A. Manager) software.
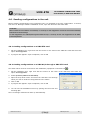
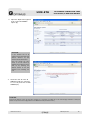
1. If the software is the SCM-01, start the application, open the Options menu and select Installations
(administrator user level is required). If the software is the SCF-01, start the application.
NB:
Prior to configuration of the parameters of the UMX-ETH card, it is necessary to have configured the Installation and PA Area
parameters.
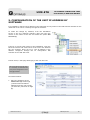
The UMX-ETH card must be added to a
UMX-02/0 chassis, which in turn can
depend on a P.A. Area or a DVA-102ETH.
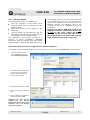
2. Select the UMX-02/0 chassis to which
you wish to add the UMX-ETH card.
3. Open the Add Equipment menu, select UMX02 and click on UMX-ETH.
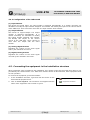
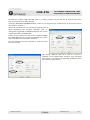
4. The unit configuration screen appears.
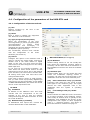
Refer to section 4.4. Configuration of the
parameters of the UMX-ETH card.
UMX-ETH version 2.1
R&D Department
9