1
Stratomaster EFIS – Users manual
Note: This step is not required for Enigma. Leave the DEM files on the SD card.
Step 7
From the EFIS DVD, copy the vector map data install file for your area onto your PC into a
temporary folder and execute the file. This will install a file called VMAP.evd. Copy this file to
your SD card.
Step 8
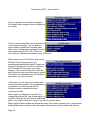
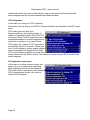
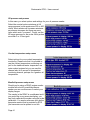
In EFIS, go to the “Install tasks menu” and choose “Install vector map”. This may take a short
while depending on the size of the VMAP.EVD file for your area.
Note: This step is not required for Enigma. Leave the VMAP.EVD file on the SD card.
Step 9
Check your EFIS DVD for any raster map files for your area. If you have the Southern Africa
DVD, Raster map files are included for the Southern Africa area. For other areas check with
your local distributor if raster maps are available.
Tip: you can convert your own paper or digital format maps (if they are in BMP ot JPG format)
into raster maps for your EFIS using the “Enigma Mapmaker” program on your EFIS DVD (or
download the latest version from the MGL Avionics website).
Copy all raster map files AND the Mapindex.MM0 file onto your SD card.
Raster map files have names similar to “N33W093b.M34”.
Step 10
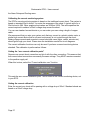
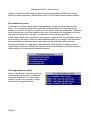
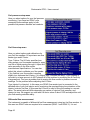
In EFIS, go to the “Install tasks menu” and choose “Install raster maps”. This may take a few
minutes as raster map files tend to be large.
Note: This step is not required for Enigma. Leave the raster map files on the SD card.
Other steps
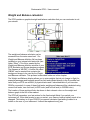
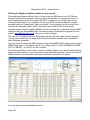
Once you are comfortable with your setups, you will possibly install more advanced items like
weight and balance files – these contain an image of your aircraft that you can create in a
basic drawing program such as Microsoft Windows paint. Perhaps you have an I/O extender
and have created an I/O extender script file for advanced functionality (see the I/O extender
manual for details on this).
Installation steps in general
The above is just an example, the steps do not have to be followed in any particular order and
you can easily combine steps.
For example, consider first creating all the files required and copy them to your SD card and
Page 146