1
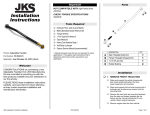
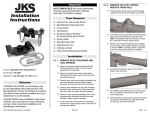
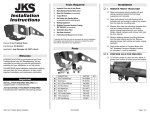
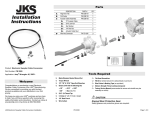
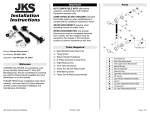
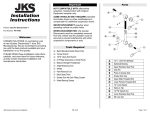
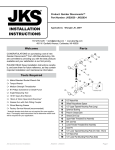
Important Installation Instructions Parts RECOMMENDED FOR vehicles lifted 4-6” only. Installation on vehicles with a lower ride height is possible, as long as installer properly secures the brake line to prevent interference with other components. COMPATIBLE WITH 3/8” brake hose bolt at caliper only – will not fit 7/16” bolt. Product: HD Extended Brake Lines Part Number: PN 2291 Applications: Jeep Wrangler YJ, 1987-95 Jeep CJ5 / CJ7 / CJ8, 1982-86 Tools Required Metric/Standard Socket Wrench Set 3/8” Wrench (Flare Nut or Open End) ** 1/2” Wrench (Flare Nut or Open End) ** 9/16” Open End Wrench 11/16” Open End Wrench T35 Torx Driver * Torque Wrench Factory Service Manual (recommended) CONGRATULATIONS on purchasing new HD Extended Brake Lines from JKS Manufacturing. We are committed to providing you with the best products available and your satisfaction is our first priority. PLEASE READ these Installation Instructions carefully, and save them for future reference, as they contain important installation and maintenance information. * Asterisk denotes tools that are not required for some applications. Thoroughly read instructions first to determine which tools will be required for your application. Welcome DESCRIPTION A B C D E HD Extended Brake Line Copper Washer Mounting Bracket Retainer Clip Self Tapping Screw QTY 2 4 2 2 2 ** The original mounting bolt for the factory brake hose mounting bracket can vary by application. JKS HD Extended Brake Line Installation PN 2291 Page 1 of 2 4. POST-INSTALLATION Installation 1. REMOVE ORIGINAL BRAKE HOSES Check brake lines to ensure they do not interfere with tires or any moving parts. Brake lines should also be checked at maximum suspension extension (droop) to ensure length is sufficient. HINT: On vehicles lifted less than 4.0”, it may be necessary to secure the brake line away from any other components. Disconnect the hard metal brake tube from the original rubber brake hose that is attached to vehicle chassis. HINT: Plug the metal tube to prevent brake fluid from leaking. Remove the original brake hose mounting bracket from chassis and save original bolt. Disconnect the original rubber brake hose from the caliper. Discard both copper washers, but retain the original bolt. HINT: Install with new copper washers as indicated above, making sure brake line will not contact tire. Check all hardware to ensure it has been correctly installed and tightened to factory torque specifications. Using a torque wrench, tighten the original bolt to 23 ft-lbs. Position the new brake line Mounting Bracket (C) in original location on chassis. Install new Mounting Bracket (C) to chassis using the original brake hose mounting bolt if possible. Otherwise install Mounting Bracket to chassis using the supplied Self Tapping Screws (E). Maintenance Check torque specifications as part of regular vehicle maintenance schedule. © 2009 JKS Manufacturing, Inc & Aftermarketing, LLC Revision Date 8/8/2009 Insert opposite end of HD Extended Brake Line 2. INSTALL NEW HD EXTENDED BRAKE LINES Attach square end of HD Extended Brake Line (A) to caliper with new Copper Washers (B), and insert the original bolt. (A) into Mounting Bracket (C) and secure with the supplied Retainer Clip (D). Attach the original hard metal brake tube to HD Extended Brake Line (A) and tighten securely. 3. BLEED FRONT BRAKES Refill the master cylinder reservoir with the approved brake fluid. Bleed the front brakes per the factory service manual instructions for your vehicle. JKS HD Extended Brake Line Installation PN 2291 Page 2 of 2