1
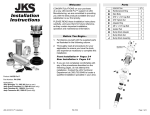
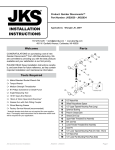
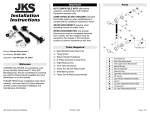
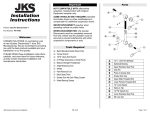
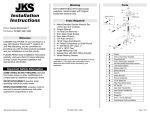
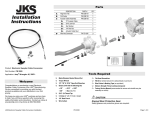
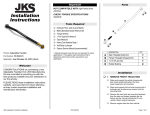
Product: Adjustable End Links Part Number: JKS2942 INSTALLATION INSTRUCTIONS Applications: Jeep Wrangler TJ, 1997-06 517-278-1226 • [email protected] • www.jksmfg.com 491 W. Garfield Avenue, Coldwater, MI 49036 Parts Welcome CONGRATULATIONS on purchasing a set of new Adjustable End Links from JKS Manufacturing. We are committed to providing you with the best products available and your satisfaction is our first priority. PLEASE READ these Installation Instructions carefully, and save them for future reference, as they contain important installation and maintenance information. Important NOT COMPATIBLE WITH aftermarket swaybars. Install product with Original Equipment swaybar only. Tools Required Metric/Standard Socket Wrench Set Torque Wrench Tape Measure 3/4” Open-End Wrench Medium Strength Threadlocker Wheel Bearing Grease Metal Cutting Tool * (such as die grinder with cutting wheel or appropriate saw for cutting connecting rod) Factory Service Manual (recommended) * * Asterisk denotes tools that are not required for some applications. Thoroughly read instructions first to determine which tools will be required for your application. JKS Adjustable End Links Installation JKS2942 A B C D Description Connecting Rod 1/2” Jam Nut Bushing Eyelet 1/2” Poly Hourglass Bushing QTY 2 4 4 4 Page 1 Rotate swaybar up and down to simulate full suspension travel. Check center of swaybar to ensure it does not contact axle housing. Installation 1. REMOVE ORIGINAL EQUIPMENT (OE) REAR SWAYBAR LINKS Also check angle of swaybar swing-arms in relation to lower rear suspension arms. Optimum performance will be achieved when these components are close to parallel. Remove the original mounting hardware that secures the rear swaybar links to the swaybar and chassis. If you did not achieve the desired results with Recommended Length, fine tune the length until desired results are achieved. Discard original rear swaybar links, but retain mounting hardware. 3. MODIFY CONNECTING ROD 2. DETERMINE PROPER LENGTH OF ADJUSTABLE SWAYBAR LINKS The Adjustable Rear Swaybar Links can be adjusted to any length between 7” and 10-1/2” (measured from centerto-center of bushings). However, the three Recommended Lengths indicated in the chart below will suit most applications. For applications with less than 4” of Suspension Lift, it may be necessary to cut some thread material from each end of the Connecting Rod (A). HINT: No cutting is required for vehicles with 4-6” of Suspension Lift – proceed directly to Section 4. Choose the Recommended Length from the following chart that corresponds with the amount of rear suspension lift on your vehicle. Refer to the following list to determine proper Connecting Rod (A) length for your application. Using illustration below as a reference, mark each end of the Connecting Rod (A) indicating the appropriate locations to cut. HINT: Remove same amount of thread material from each end. Rotate the rear swaybar until the distance between the original mounting holes on the swaybar and chassis is equal to the Recommended Length* for your vehicle. 2 Page Remove Bushing Eyelets (C) from both ends of the Connecting Rod (A). JKS2942 JKS Adjustable End Links Installation Using an appropriate cutting tool (such as a die grinder with cutting wheel, or metal cutting saw), carefully and squarely cut each end of the Connecting Rod (A) where previously marked. Now completely unthread both 1/2” Jam Nuts (B) from Connecting Rod (A) and re-install. HINT: This will help to repair any thread damage that may have occurred during the cutting process. 4. SET FINAL LENGTH OF ADJUSTABLE SWAYBAR LINKS Apply a drop of medium strength thread locking compound to the tip of threads at each end of Connecting Rod (A). Completely thread a Bushing Eyelet (C) on to each end of Connecting Rod. 5. INSTALL SWAYBAR LINKS Apply a thin layer of wheel bearing grease to inner surface and sides of Poly Bushings (D). ©2013 JKS Manufacturing, Inc & Aftermarketing, LLC Revision Date 9/30/2013 JKS Adjustable End Links Installation JKS2942 Page 3