1
much grief.
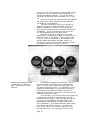
Sturdy and attractive gauge mounts are commercially
available for standard round gauges. These usually mount
on top of the dash. You may also be able to fabricate a
mounting plate to fit into a blank or unneeded part of
the central dash area, such as below or above the radio,
or in place of a coin tray. Lower down in a central
console may be another possibility.
The primary consideration for gauge placement should
be visibility for the driver. The gauge should be as
close to eye level as possible. Sometimes this isn't
possible. Give placement priority first to the ammeter,
then to the tach if you have one, then to the fuel gauge,
and last to the low voltage gauge.
Check that the gauge numbers and needle are easily
visible, not just the flat face, and check it in full
sunlight if possible. Slight changes in angle can sometimes make a big difference.
Plan your gauge mounts so that wires can be collected tidily out of sight and danger. Choose locations
where the driver will not be continually bumping the
gauge with arms or knees.
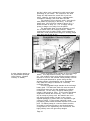
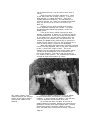
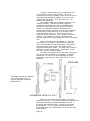
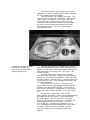
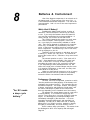
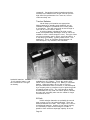
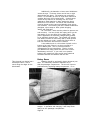
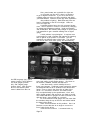
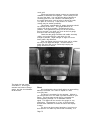
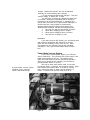
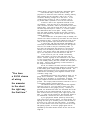
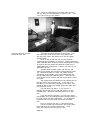
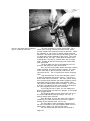
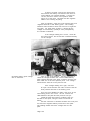
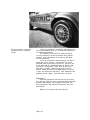
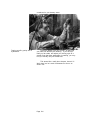
The dash of a late model
Voltsrabbit™, showing an
ammeter and state-of-charge
gauge, and the circuit breaker
at the bottom.
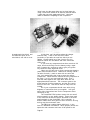
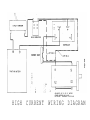
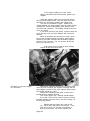
Shunt
We mentioned the shunt briefly when we were talking
about the controller, but I want to explain it a little
more fully here.
The shunt is necessary for the ammeter. Without it,
you would have to run 2/0 cable up under the dash to your
gauge. The shunt gets around this by converting the
current passing through it to a calibrated millivolt
signal. This signal can be routed to the gauge on very
small wires. The ammeter is, in fact, a millivolt meter
that has been calibrated to match the shunt and display
in amps.
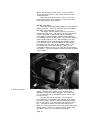
The shunt can be mounted anywhere, but since you
don't want to run cable any further than necessary, it is
Page 75