1
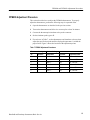
PS280 and PS283 Adjustment Procedures
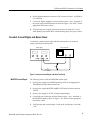
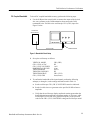
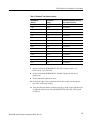
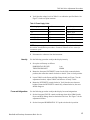
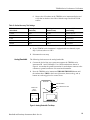
10. Connect the digital multimeter to the + and – terminals of the MASTER
output and note the reading obtained.
11. Connect the digital multimeter to the + and – terminals of the SLAVE
output.
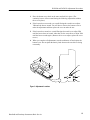
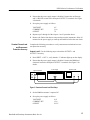
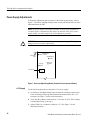
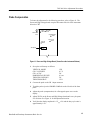
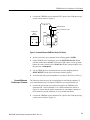
12. Adjust VR501 (Front Panel Controls circuit board) until the voltage of the
SLAVE output matches the reading obtained from the MASTER output in
step 10 above.
13. Recheck the value of the MASTER output compared to the value of the
SLAVE output. Readjust VR501 if the outputs do not match.
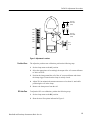
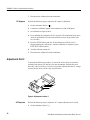
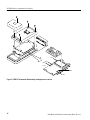
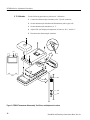
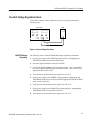
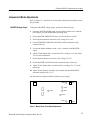
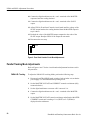
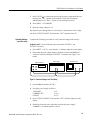
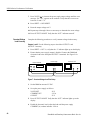
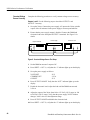
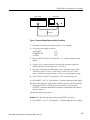
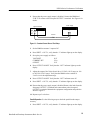
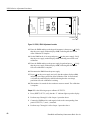
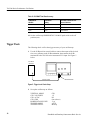
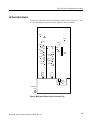
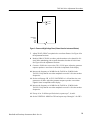
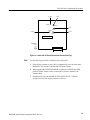
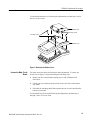
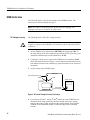
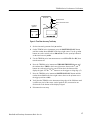
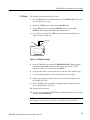
J3082
14. Disconnect the test setup.
VR501
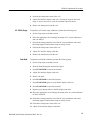
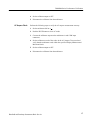
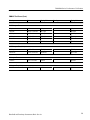
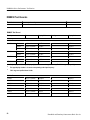
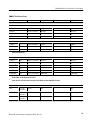
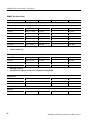
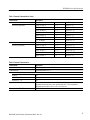
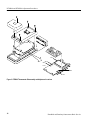
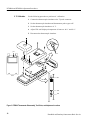
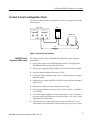
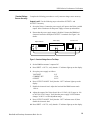
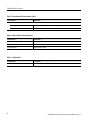
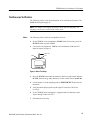
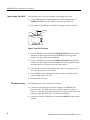
Figure 9: Front Panel Controls Circuit Board Adjustments
Parallel Tracking Mode Adjustments
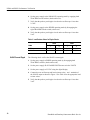
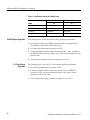
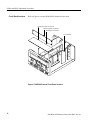
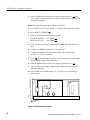
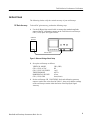
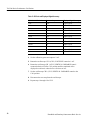
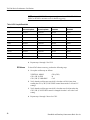
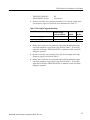
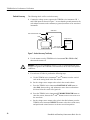
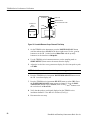
Refer to Figures 6 and 7 for the circuit board and adjustment locations used in
this procedure.
PARALLEL Tracking
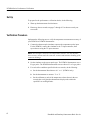
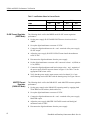
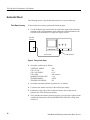
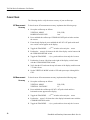
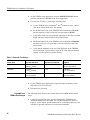
To adjust the PARALLEL tracking Mode, perform the following steps.
1. Disengage both TRACKING mode switches (both switches out) so that the
power supply is in the INDEPendent operating mode.
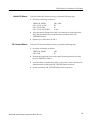
2. Set the MASTER VOLTAGE and CURRENT controls to minimum (fully
counterclockwise).
3. Set the digital multimeter to measure a DC current of 4 A.
4. Connect the digital multimeter to the + and – terminals of the MASTER
output.
5. Set the MASTER VOLTAGE control to midrange and adjust the MASTER
CURRENT control until a reading of 1 A (PS283) or 2 A (PS280) is
displayed on the multimeter.
20
Handheld and Benchtop Instruments Basic Service