1
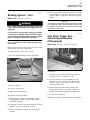
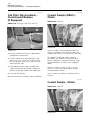
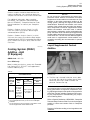
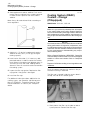
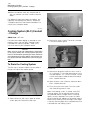
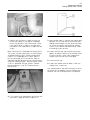
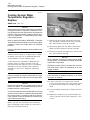
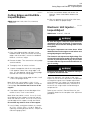
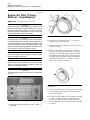
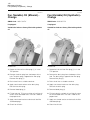
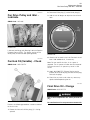
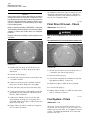
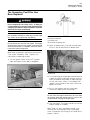
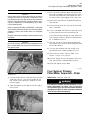
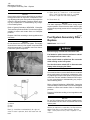
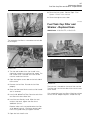
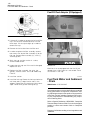
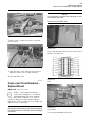
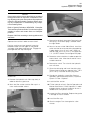
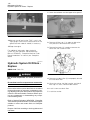
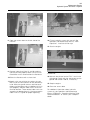
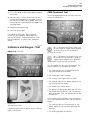
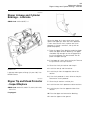
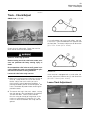
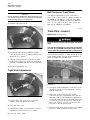
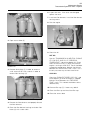
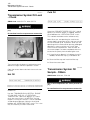
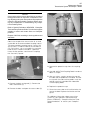
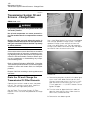
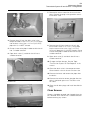
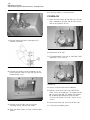
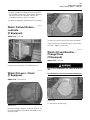
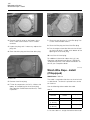
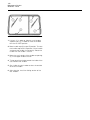
127
Maintenance Section
Engine Valve Lash - Check/Adjust
8. Apply a thin coat of oil to the seal on the new
filter. Install the new engine oil filter element by
hand. When the gasket contacts the filter base,
tighten the filter element by an additional 3/4 turn
(270 degrees). Rotation index marks are on the
new filter element. These rotation index marks are
spaced at 90 degree intervals. Use these rotation
index marks as a guide for proper tightening.
11. Check the “LOW IDLE” side of the dipstick
while the engine is running. The oil should be
at operating temperature. Maintain the oil level
between the “ADD” mark and the “FULL” mark.
This is the only accurate way to check the oil
level.
12. Secure the lower access cover on the right side
of the engine.
For additional information about oil types, see
Operation and Maintenance Manual, SEBU6250,
“Caterpillar Machine Fluids Recommendations” or
consult your Caterpillar dealer.
i01293610
Engine Valve Lash Check/Adjust
SMCS Code: 1209-025
Illustration 245
g00670621
9. Remove the oil filler cap. Fill the crankcase
with new oil. See the topic Operation and
Maintenance Manual, “Refill Capacities” in this
manual. Clean the oil filler cap and install the
oil filler cap.
To prevent possible injury, do not use the starter
motor to turn the flywheel.
Hot engine components can cause burns. Allow
additional time for the engine to cool before measuring valve clearance.
Electrical shock hazard. The electronic unit injector system uses 90-120 volts.
NOTICE
Operation of Caterpillar engines with improper valve
adjustments will reduce engine efficiency. This reduced efficiency could result in excessive fuel usage
and/or shortened engine component life.
Illustration 246
g00670630
10. To ensure that the correct amount of oil was
added, always measure the oil level with the
dipstick.
Check the “ENGINE STOPPED” side of the
dipstick while the engine is stopped. The oil
should be cold. Maintain the oil level between
the “LOW” mark and the “FULL” mark. This
method should be used as reference only, before
the engine is started.
NOTICE
Measure the valve clearance with the engine stopped.
To obtain an accurate measurement, allow at least 20
minutes for the valves to cool to engine cylinder head
and engine block temperature.
Check the valve bridge before setting the valve
lash. Ensure that the valve bridge is seated equally
on both valve stems.